Learn how to render a convincing swimming pool — with fog and caustics

About Mario Cameras:
Mario is a CG Artist based in Veracruz, Mexico. An Industrial Engineer by career, he now creates architectural visualizations at ARQING, a studio he founded with his wife. Self-learning since 2006, Mario has been constantly improving his artistic and technical skills while searching for the best quality and realism possible.
Underwater fog and caustics
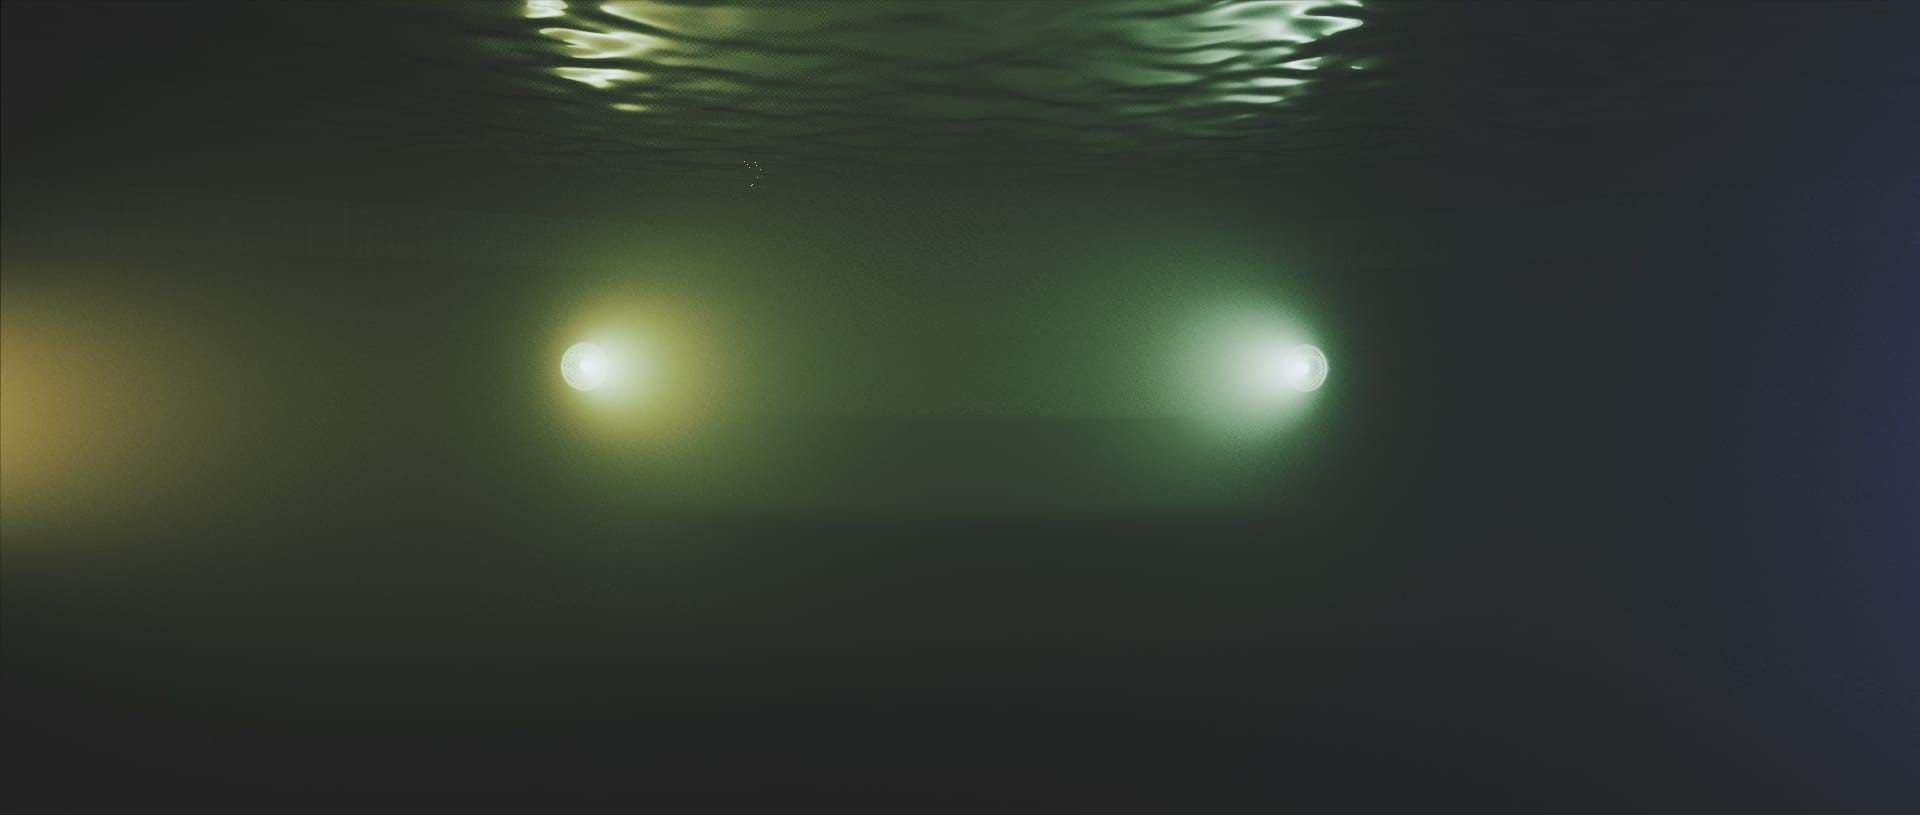
When I start a project like this, I always look at references first to ensure I understand how things look in the real world. In this case, I wanted to see how the surface of the water appears mirrorlike when you see it from below, as well as realize how volume lights look — which helps when setting up fog values correctly.
I decided that the camera movement should be slow because things move slower underwater, and I chose to rotate it because I think this transmits more of an idea of swimming with freedom.
Rendering fog is now very easy with V-Ray Next because you can see it in the IPR and set up the values with a real-time response. So first, let’s take a look at the tricks I used to render the fog element for the underwater shot:
- The VRayAtmosphere element (see below) has been applied to the final composition; this element saves only the fog and so this way I gained more control over the final result in post-production.
- In some cases, the NVIDIA Denoiser is a fast and clean solution for denoising fog.
And here are the results:

VRayAtmosphere element
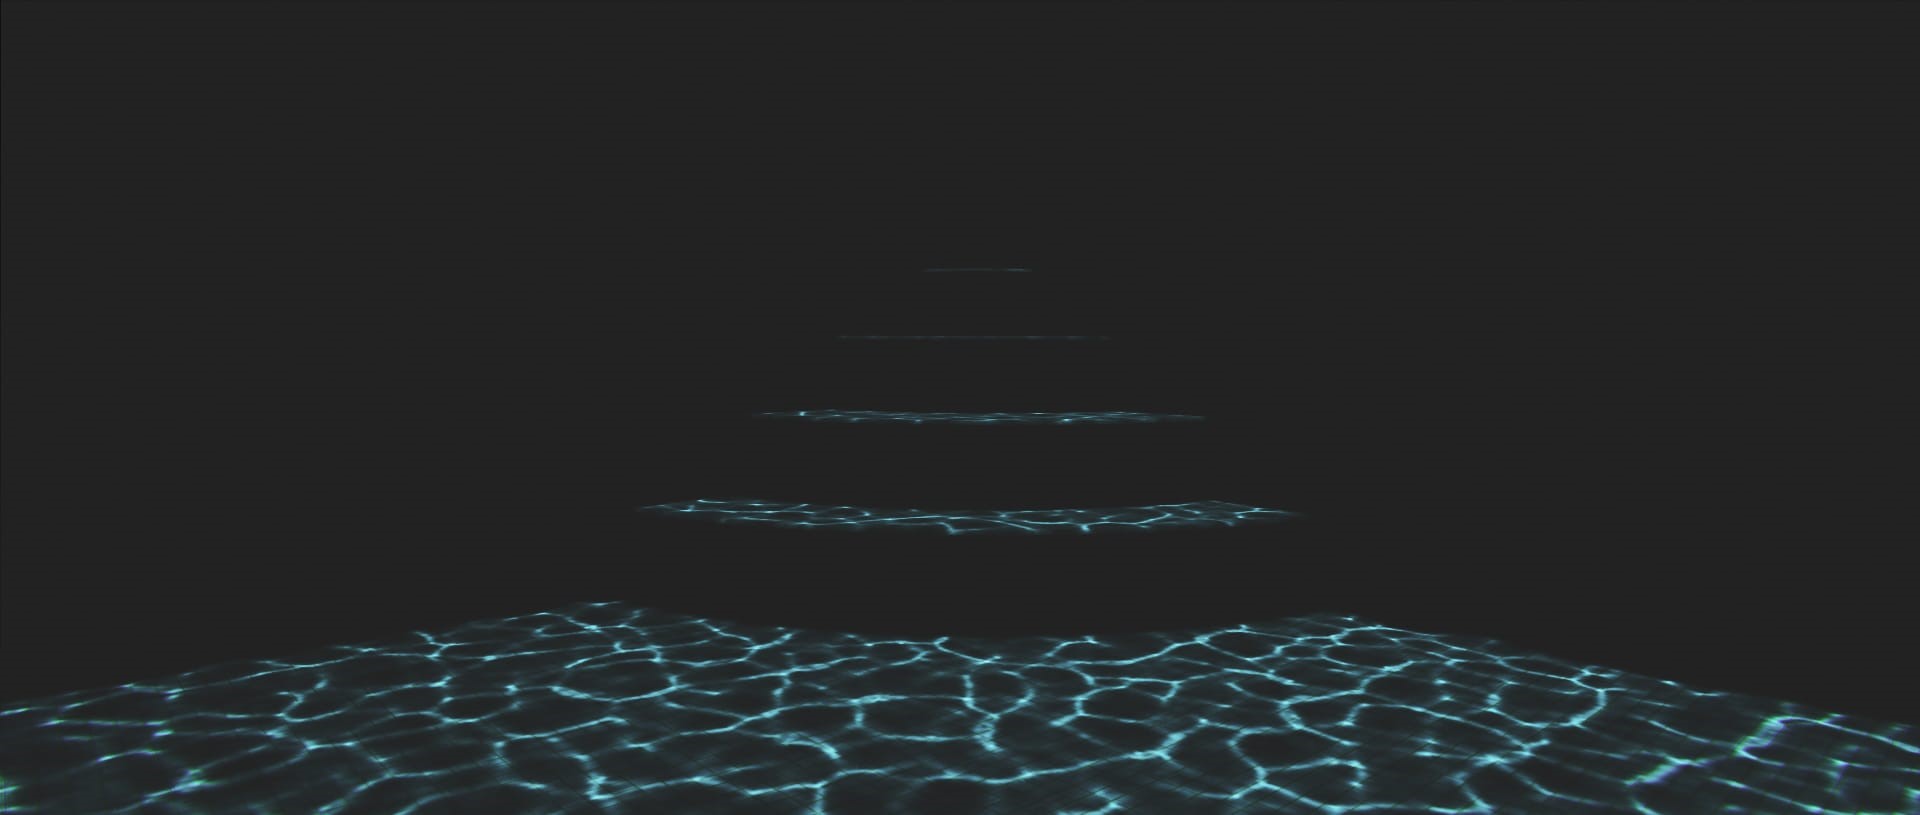
Caustics were calculated separately with V-Ray Next and I saved just the VRayCaustics element to be added in the compositing stage.

VRayCaustics element
To see the complete process, I’ve put together a video guide which you can watch on my YouTube channel:
Lenses and distortions
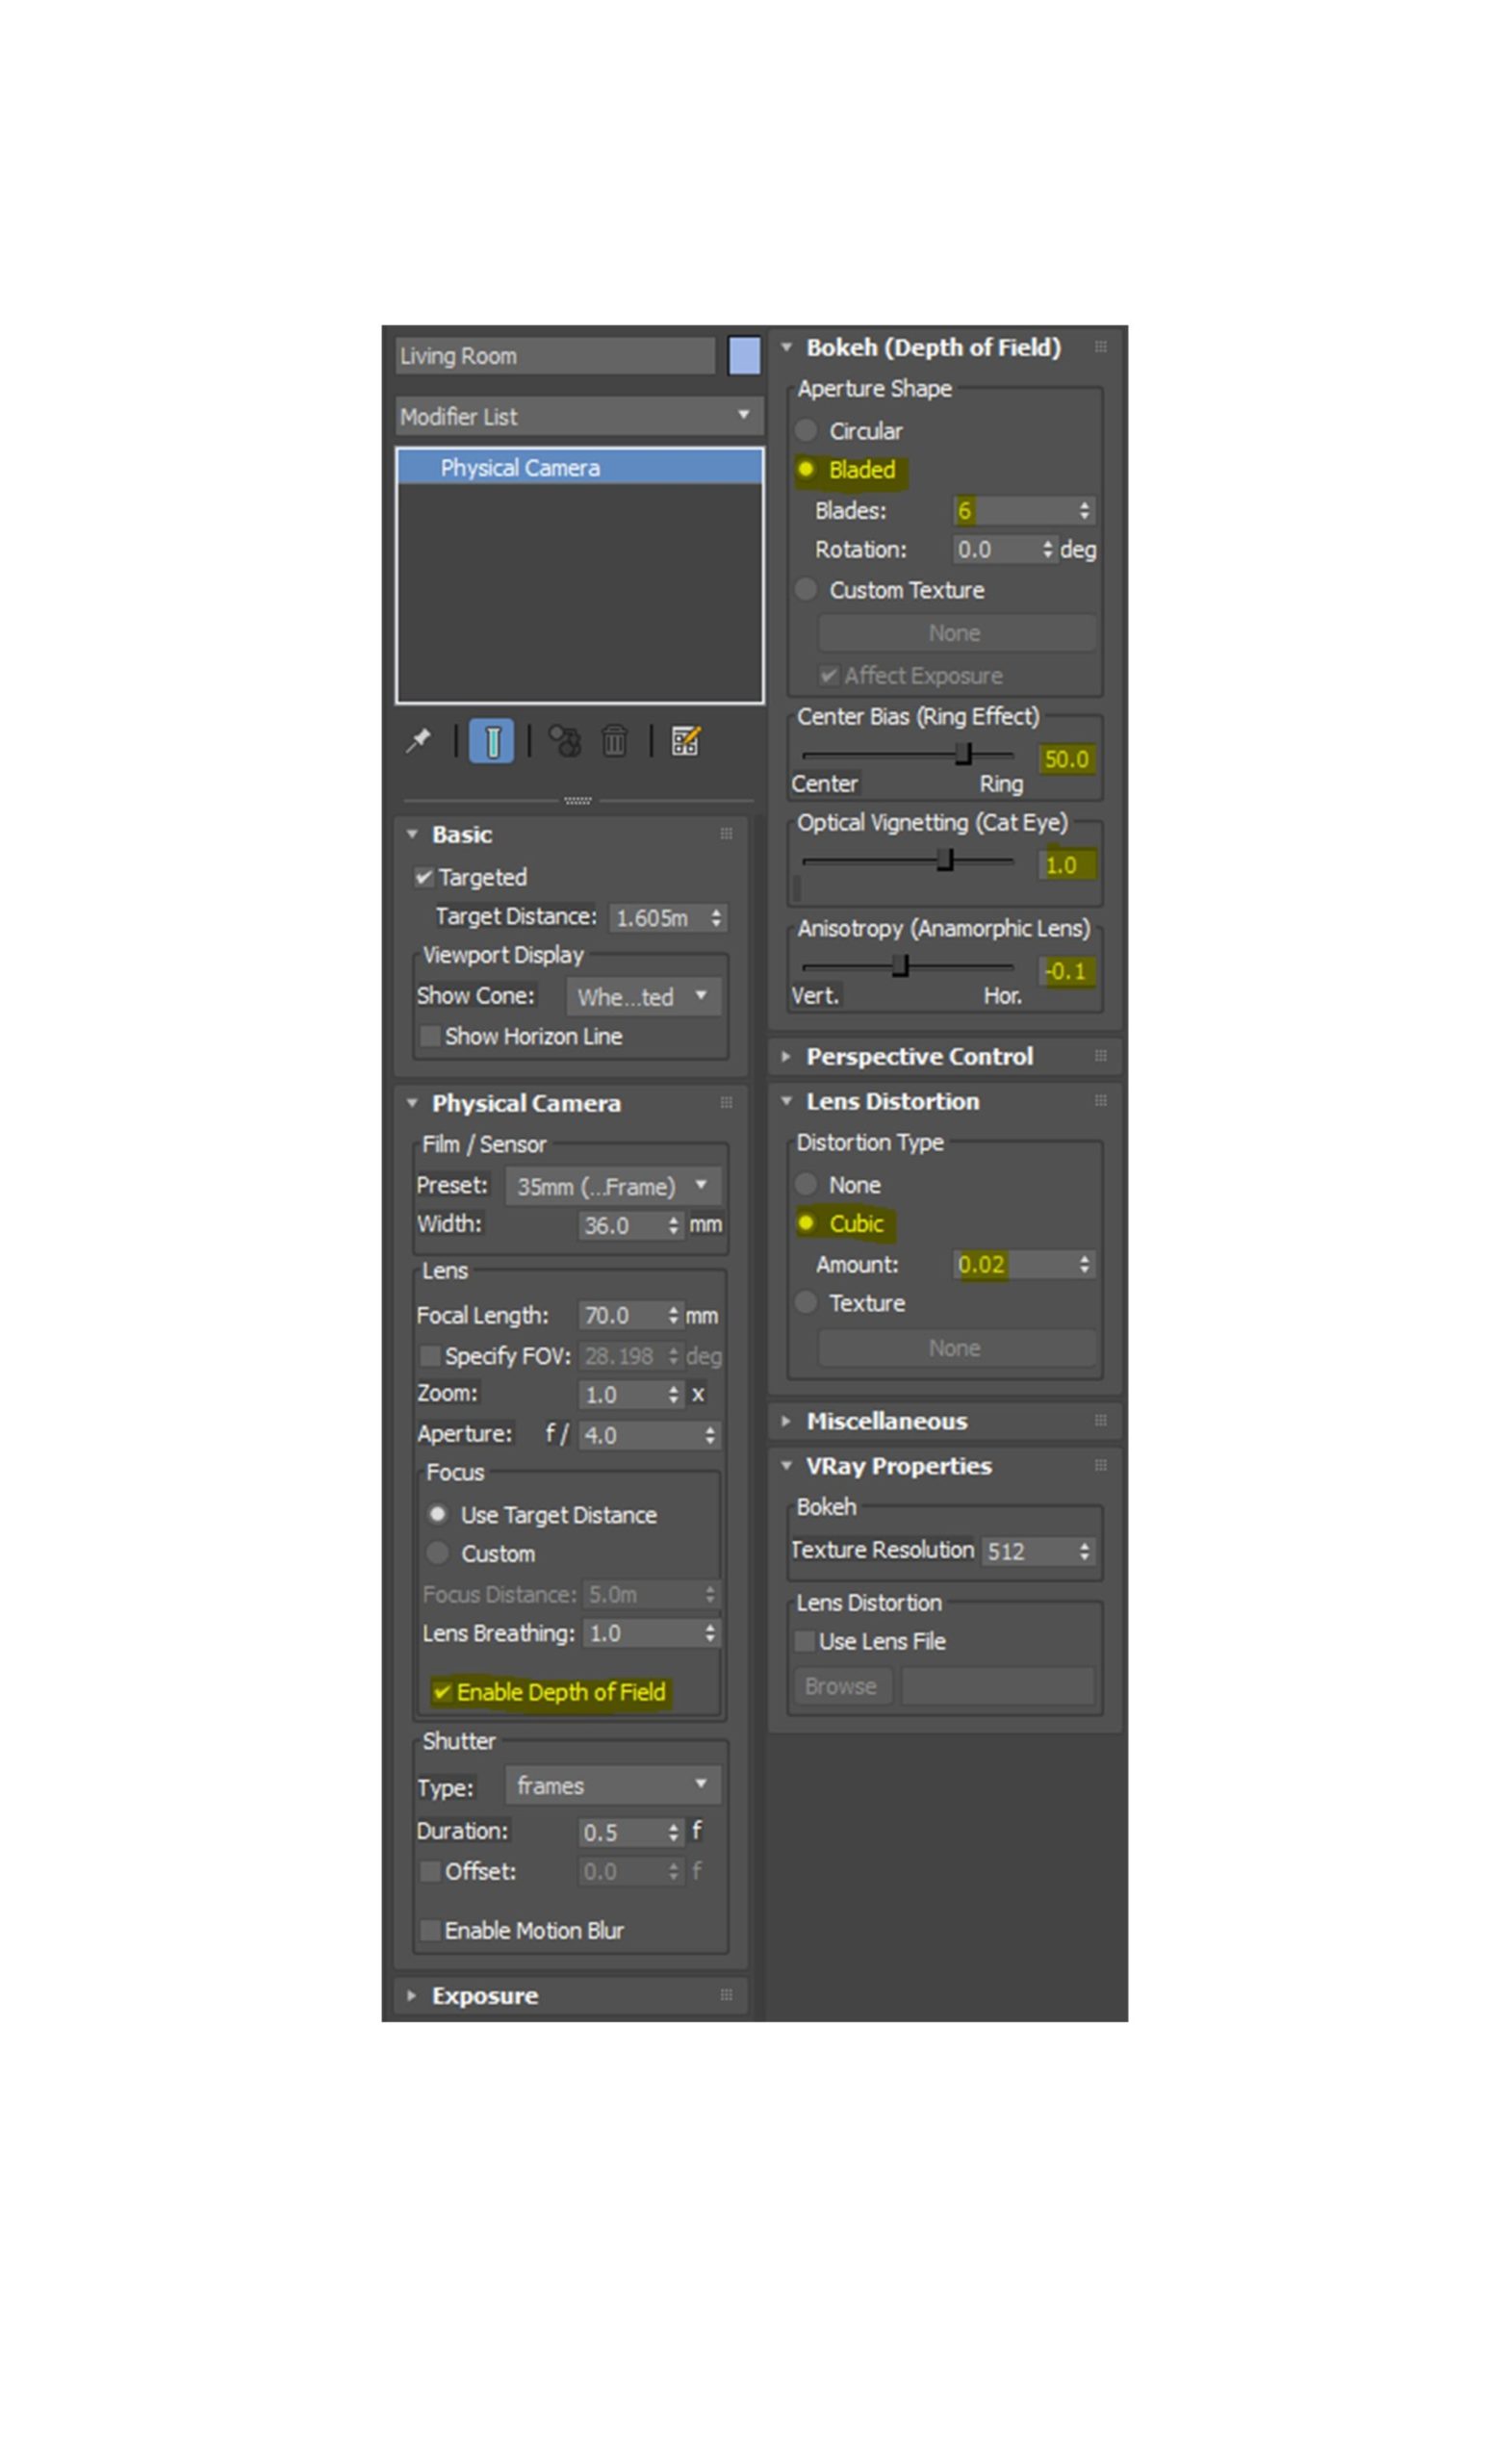
With V-Ray Next and 3ds Max, you can take advantage of many tools to reveal the highest level of detail in your renders. For this project, creating an animation exclusively with anamorphic (cinematic) lenses were one of my main goals, so I surfed the web to learn more about them. I found that there are tons of anamorphic lens types — each with their own effects. I decided to use a realistic combination of lenses for the full animation. 


 Tiếng Việt