Autodesk offers students, educators, and academic institutions worldwide free access to its software products — for example, AutoCAD 2021 with a one-year license.
By simply creating an Autodesk Education account, you can use most Autodesk applications free of charge for a limited period.
To register for an educational license, follow these steps:
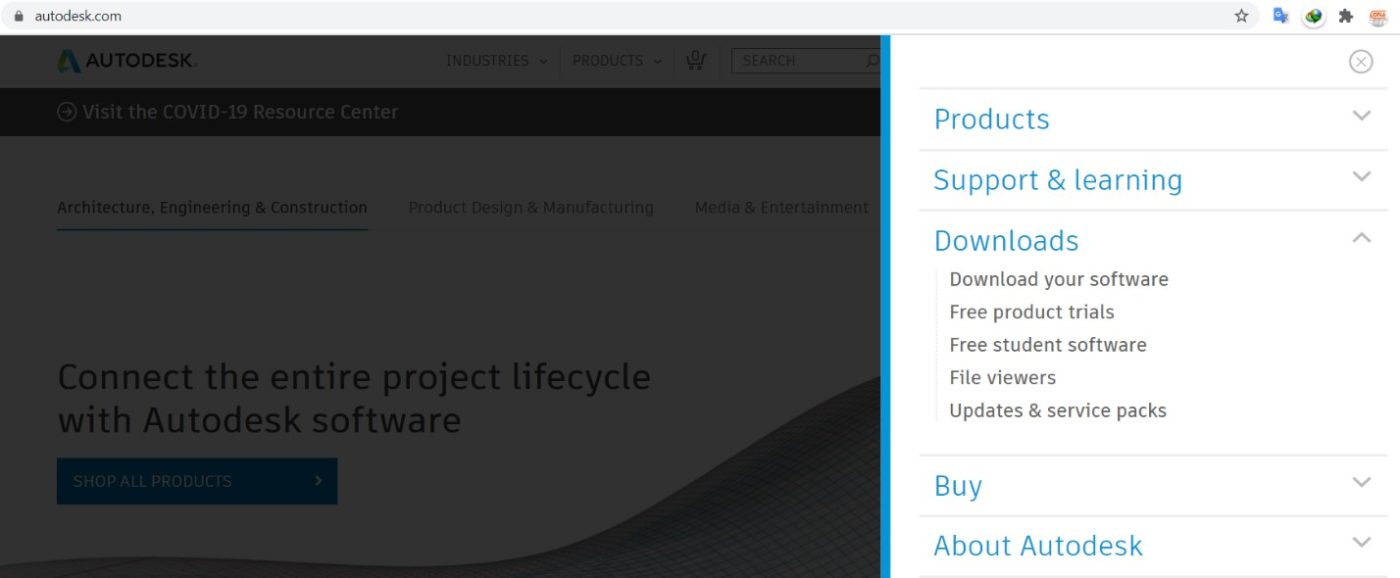
Step 1: Visit Autodesk.com
In the top-right menu of the homepage,
select Downloads → Free Student Software.
Step 2: Choose Your Software
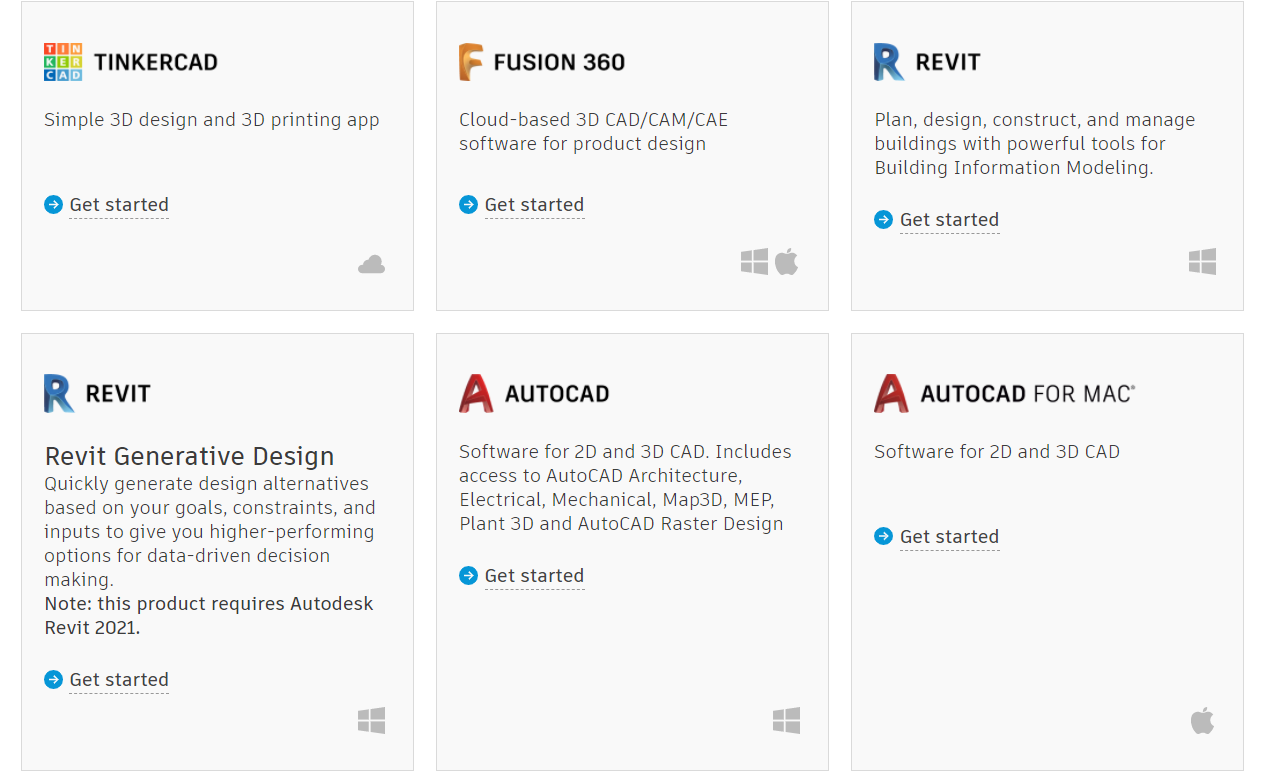
Click Get Started to select the software you want to use under the student version.
Step 3: Create an Autodesk Account
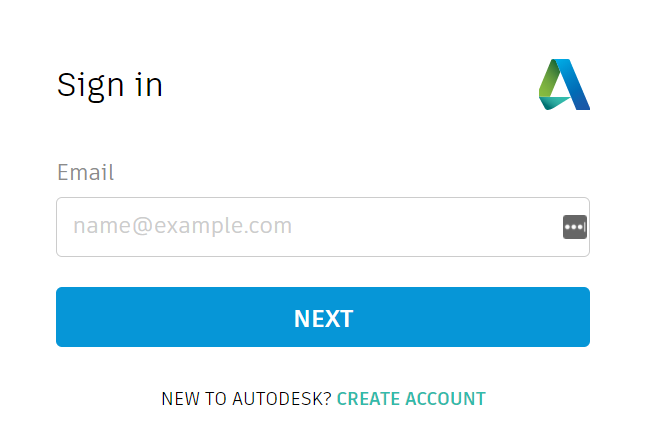
When the sign-in window appears, you’ll need to create an Autodesk Education account to access the free software.
Once your student account is successfully registered, you’ll be able to use most Autodesk applications such as Revit, 3ds Max, Inventor, Fusion 360, and more.
Click Create Account to register a new account.
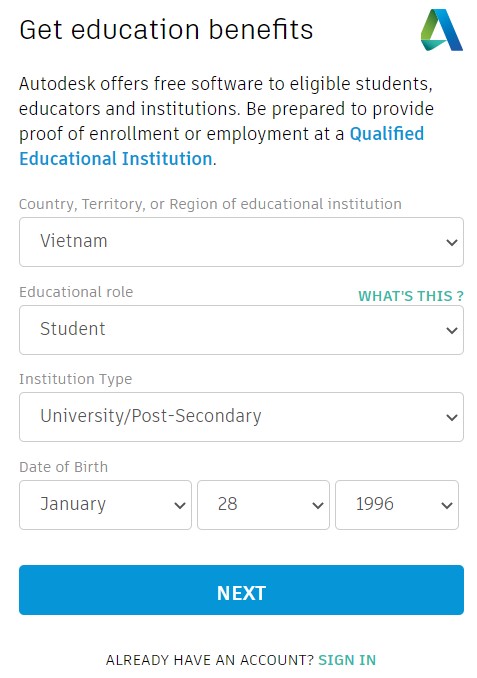
Line 1: Select your country of residence.
Line 2: Choose your educational role — student or researcher.
Line 3: Specify your education level — university or high school student.
Line 4: Enter your date of birth.
After completing all the fields, click Next to continue.
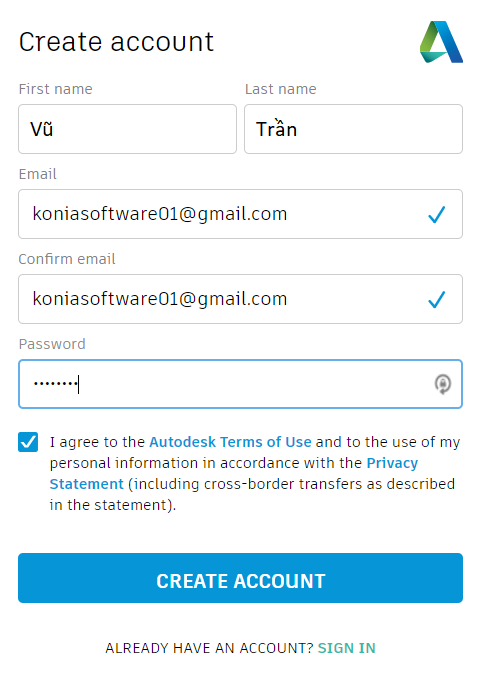
Note: The First Name and Last Name fields must match the name displayed on your Student ID card.
For example: if your name is Nguyễn Văn A, enter
First Name – Nguyễn Văn | Last Name – A (include Vietnamese accents).
After completing the information, check the box to agree to Autodesk’s Terms of Use, then click Next to continue.
Step 4: Check Your Email – Verify Your Account
A verification email will be sent to your registered email address.
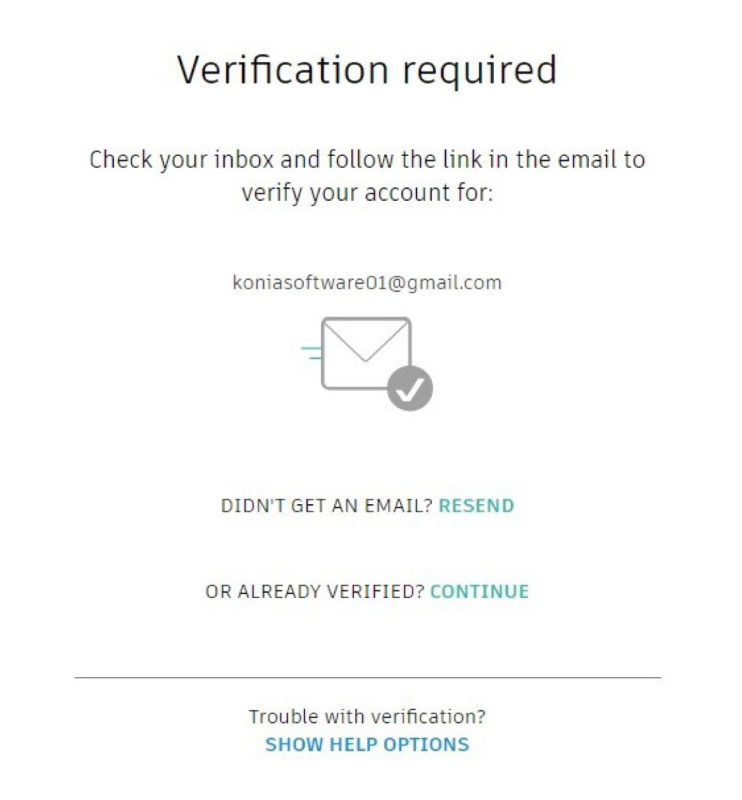
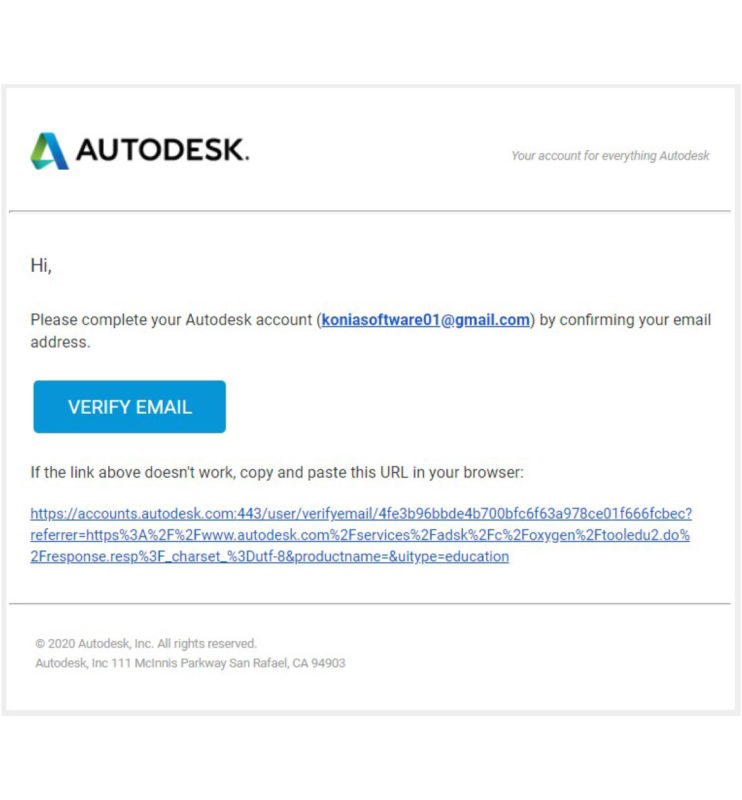
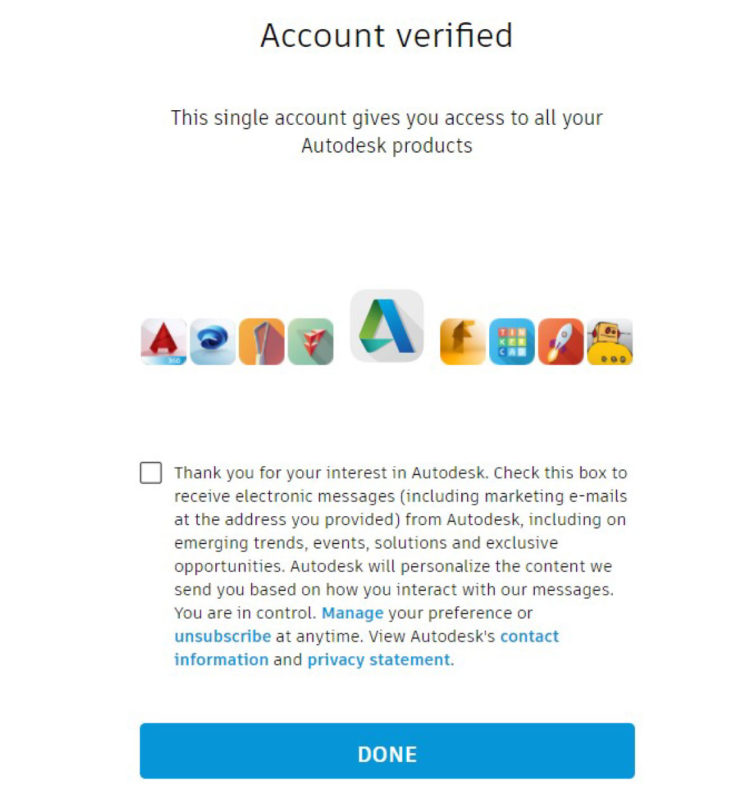
1. Check your inbox: If you don’t see the verification email, check your Spam, All Mail, or Junk folders.
You can also request a new verification email by clicking Resend.
2. Open the verification email you received: Click the Verify Email button to confirm and activate your newly registered Autodesk account.
3. Click Done: To complete the verification process and finalize your Autodesk account setup.
Step 5: Provide Your Field of Study and Enrollment Information
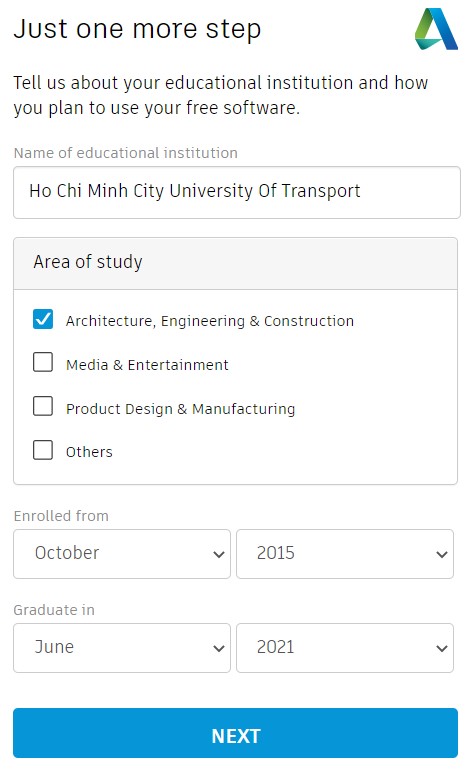
After completing the verification, you will be asked to provide additional information about your field of study and your current enrollment period at the institution.
Click Next to continue.
Step 6: Access Your Autodesk Account
After completing the registration, go back to Autodesk.com.
Sign in using the student account you have just created.
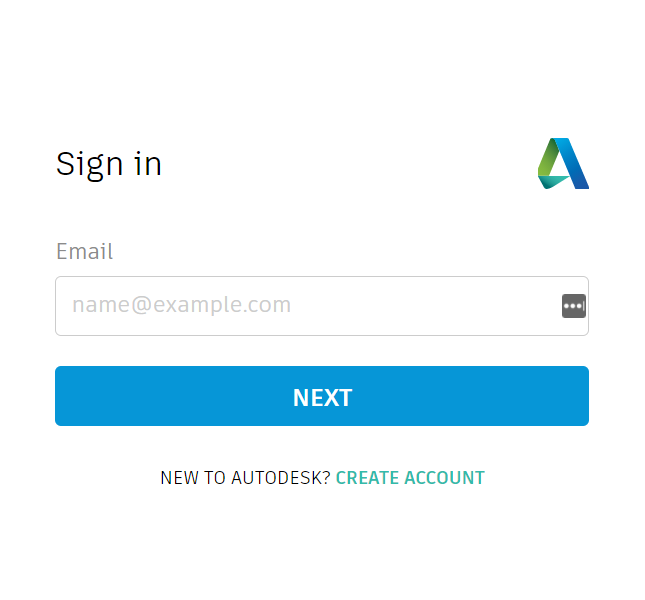
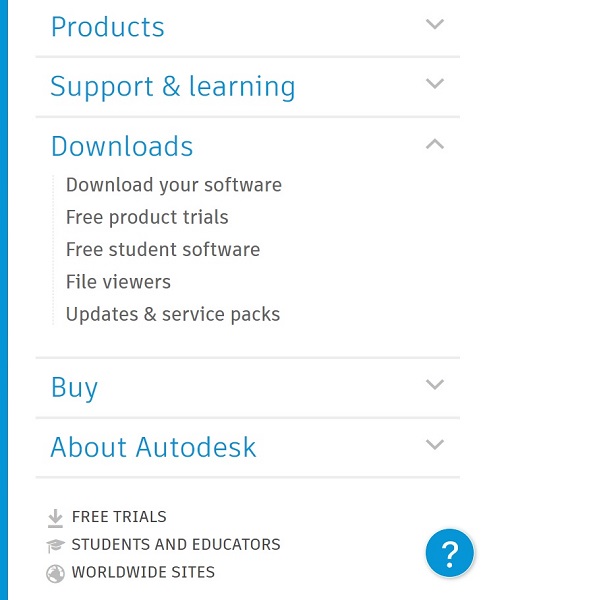
1. Sign In
2. Menu >> Downloads >> Free student software
Step 7: Verify Your Student Information
In the Autodesk Education interface, you’ll need to complete one more step to verify your student status.
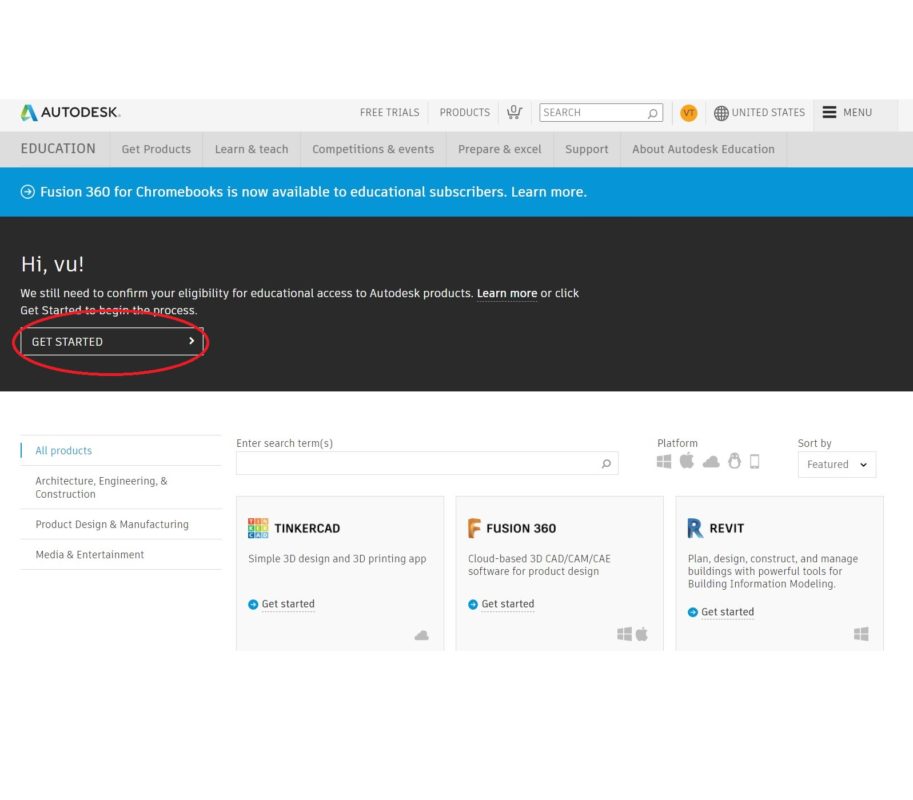
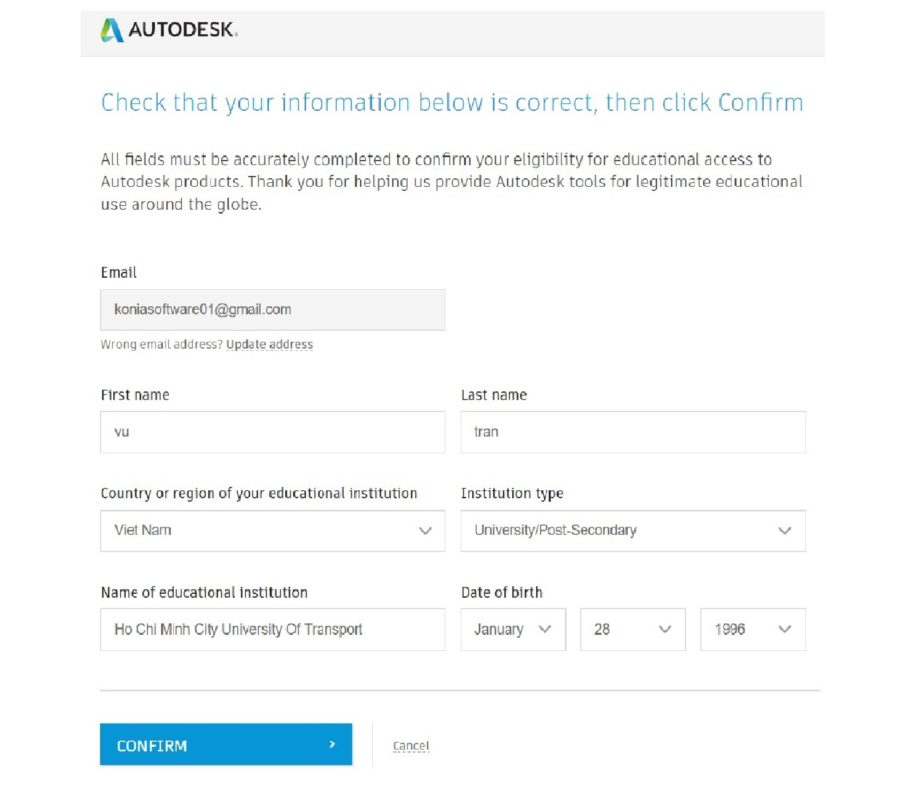
1. Click Get Started.
2. Review your registration information to ensure its correct, then click Confirm.
Step 8: Provide Student Verification Documents
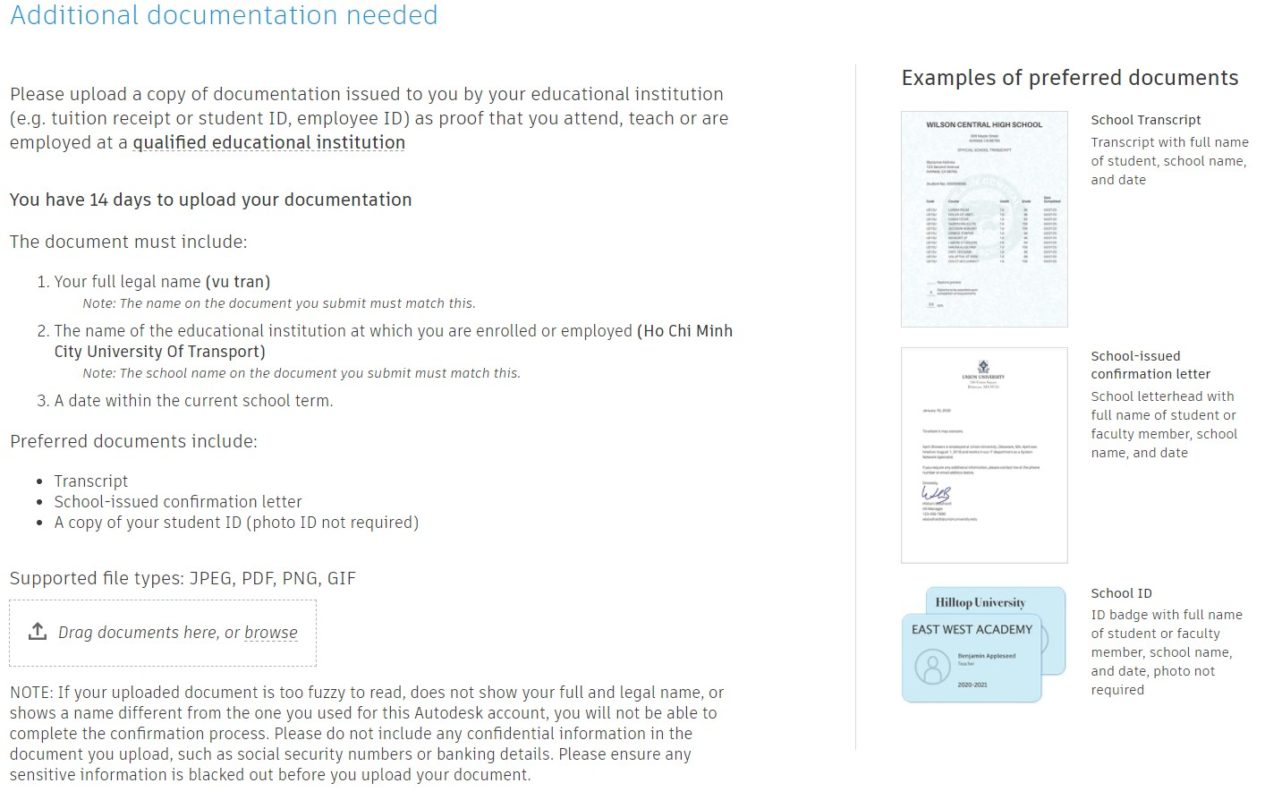
You’ll need to upload an image of your student identification document to verify the information provided in the previous step.
There are three details that must be verified:
-
Full Name
-
University/College Name where you are currently studying or working
-
Start and End Dates of your enrollment or employment period
All three details must appear on your transcript, student certificate, or student ID card, and they must match the information you provided during registration.
Take a clear photo of your Student ID card, Transcript, or Student Certificate, then drag and drop it into the “Drag documents here” section.
Step 9: Submit Your Verification
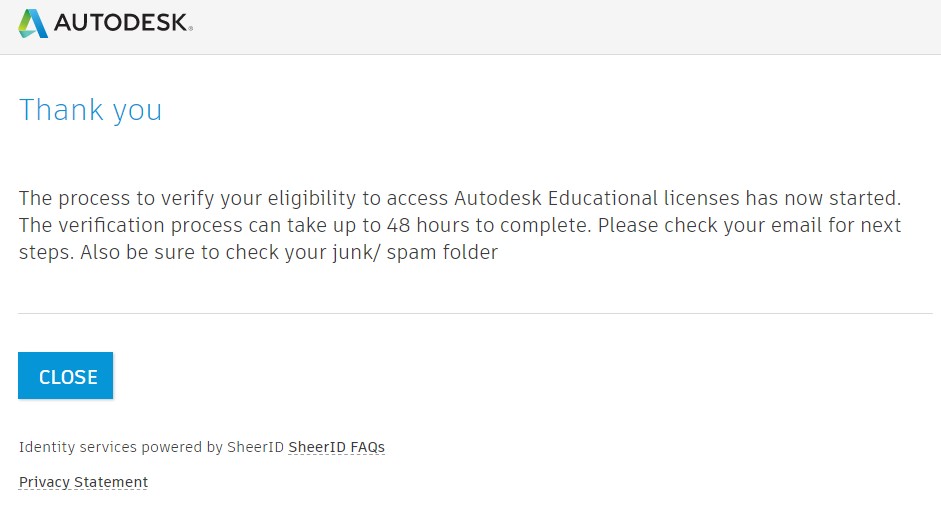
You’ve successfully uploaded your verification documents.
Autodesk will review your submission within 48 hours.
Check your inbox or spam folder for a confirmation email once your verification is approved.
Step 10: Check Your Email – Software Access Confirmation
Look for an email with the subject:
“Congrats! You now have educational access to Autodesk products.”
This confirms that your Autodesk educational license has been successfully activated.
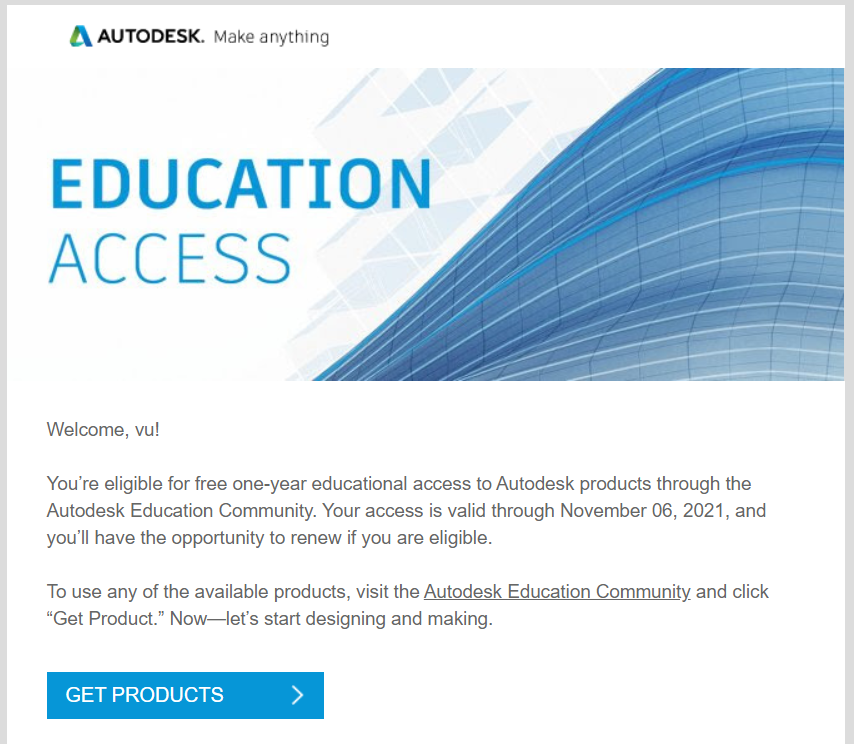
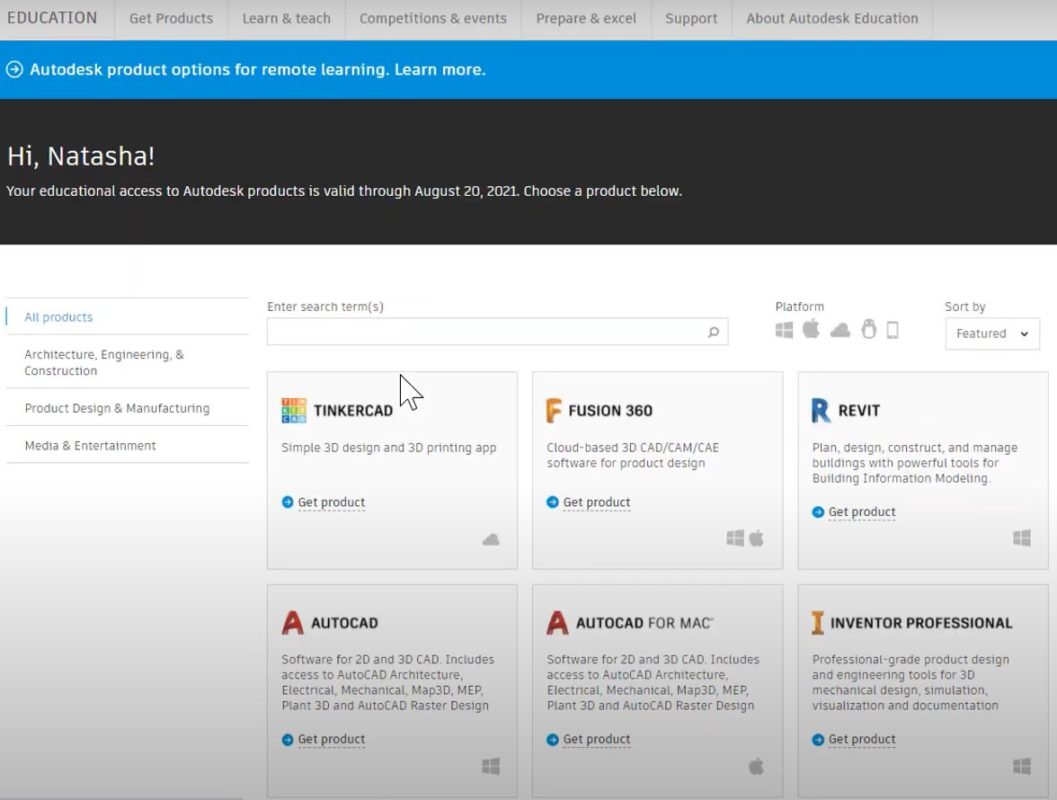
1. Open the email and click Get Products to access and download your Autodesk software.
Step 11: Download and Install the Software
Select the software you want to use from the list provided below.
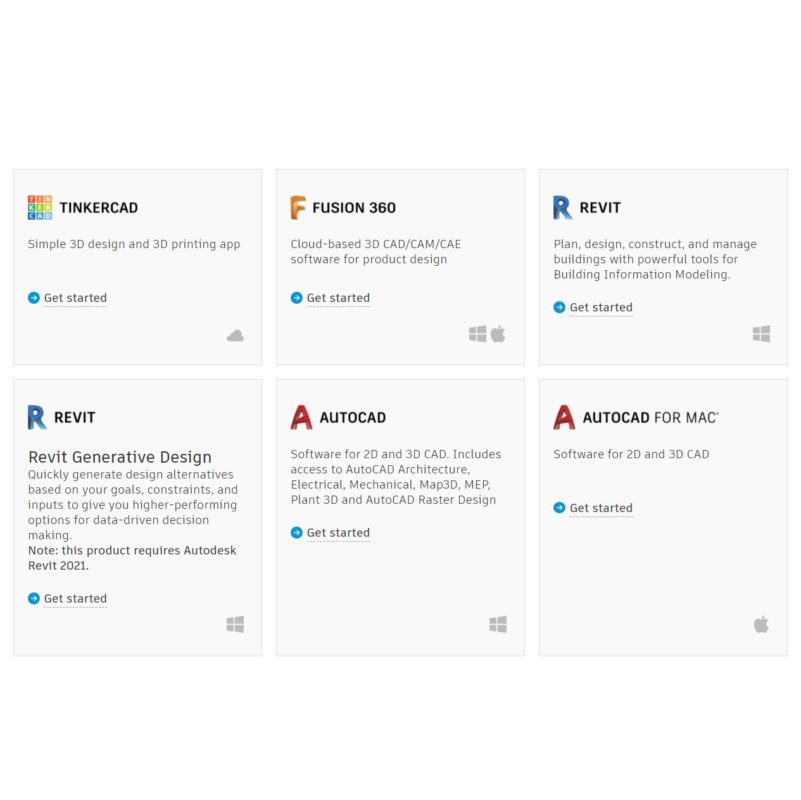
Click Get Product.
Then select your version, language, and download the chosen software by clicking Install.
Run the installer and complete the installation process.
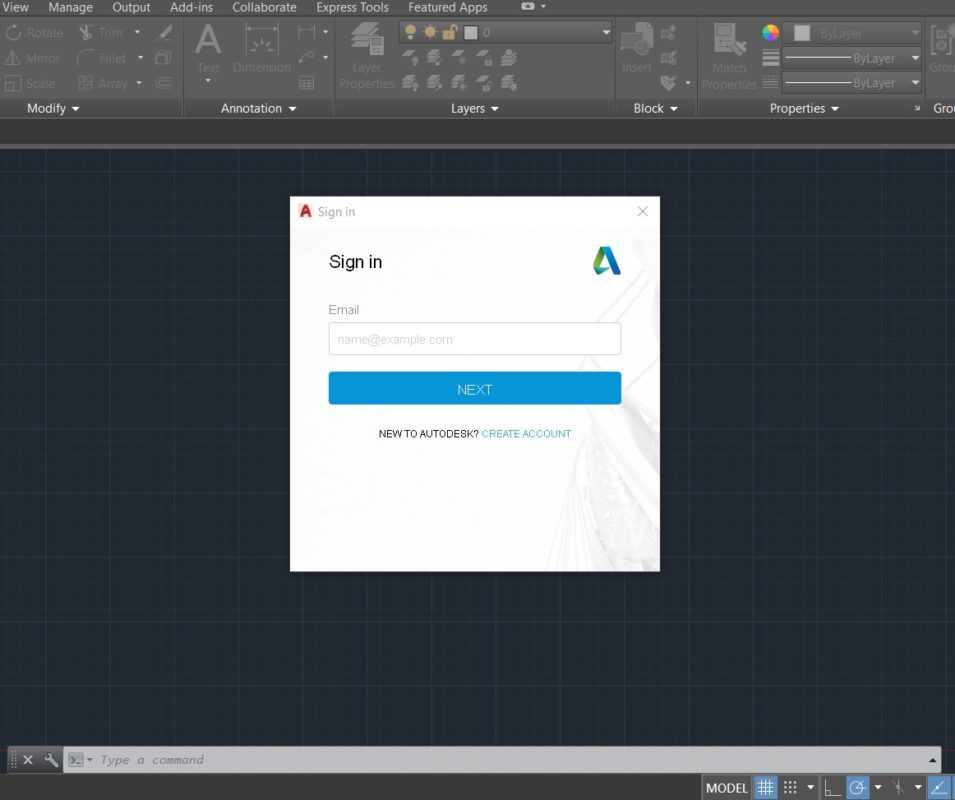
Once installed, open the software and sign in with your Autodesk account —
enter the email and password you used to register your student account.


 Tiếng Việt