How Light Mix Works In V-Ray 5
Light Mix lets you change the color and intensity of your lights after you’ve rendered your scene. Learn how it works in the new V-Ray Frame Buffer in V-Ray 5.
V-Ray 5 introduces new tools and a new look to the V-Ray Frame Buffer (VFB). In addition to its new icons, cleaner design and improved layout, you’ll notice two key new features on the right side of the interface — Layer Compositing and Light Mix. For this article, we’ll focus on how easy it is to relight a scene with Light Mix in V-Ray 5 for 3ds Max
A bit of history
Imagine a scene lit by three lights: a key, fill and rim light. If you render a single image with all three lights turned on, or you render three separate images — one for each light source — and add them back together in compositing, the results are the same. Light is additive.

Enter ray tracing. With ray tracing, it’s possible to track the entire contribution each light has on a rendered scene: diffuse, specular, reflection, refraction and global illumination. When you combine this advantage of ray tracing with the additive nature of light, we can adjust the color and intensity of lights — even after they’ve been rendered.
Technically, V-Ray has had the ability to mix lights ever since the Light Select Render Element was introduced. And this previously required manual setup for each light (or group of lights), plus a trip to a compositing application to make the adjustments.
Wouldn’t it be easier if we could do all this inside the new V-Ray Frame Buffer?

How to use Light Mix in the new VFB
One of the cool things about the new VFB in V-Ray 5 is that it basically adds lightweight compositing and image-editing capabilities. This means that it can essentially take our Light Selects, as outlined above, and organize them for you. Then you can manipulate the lighting the way you want it — on the fly.
Here is how to manipulate your lighting using the Light Mix in V-Ray 5:
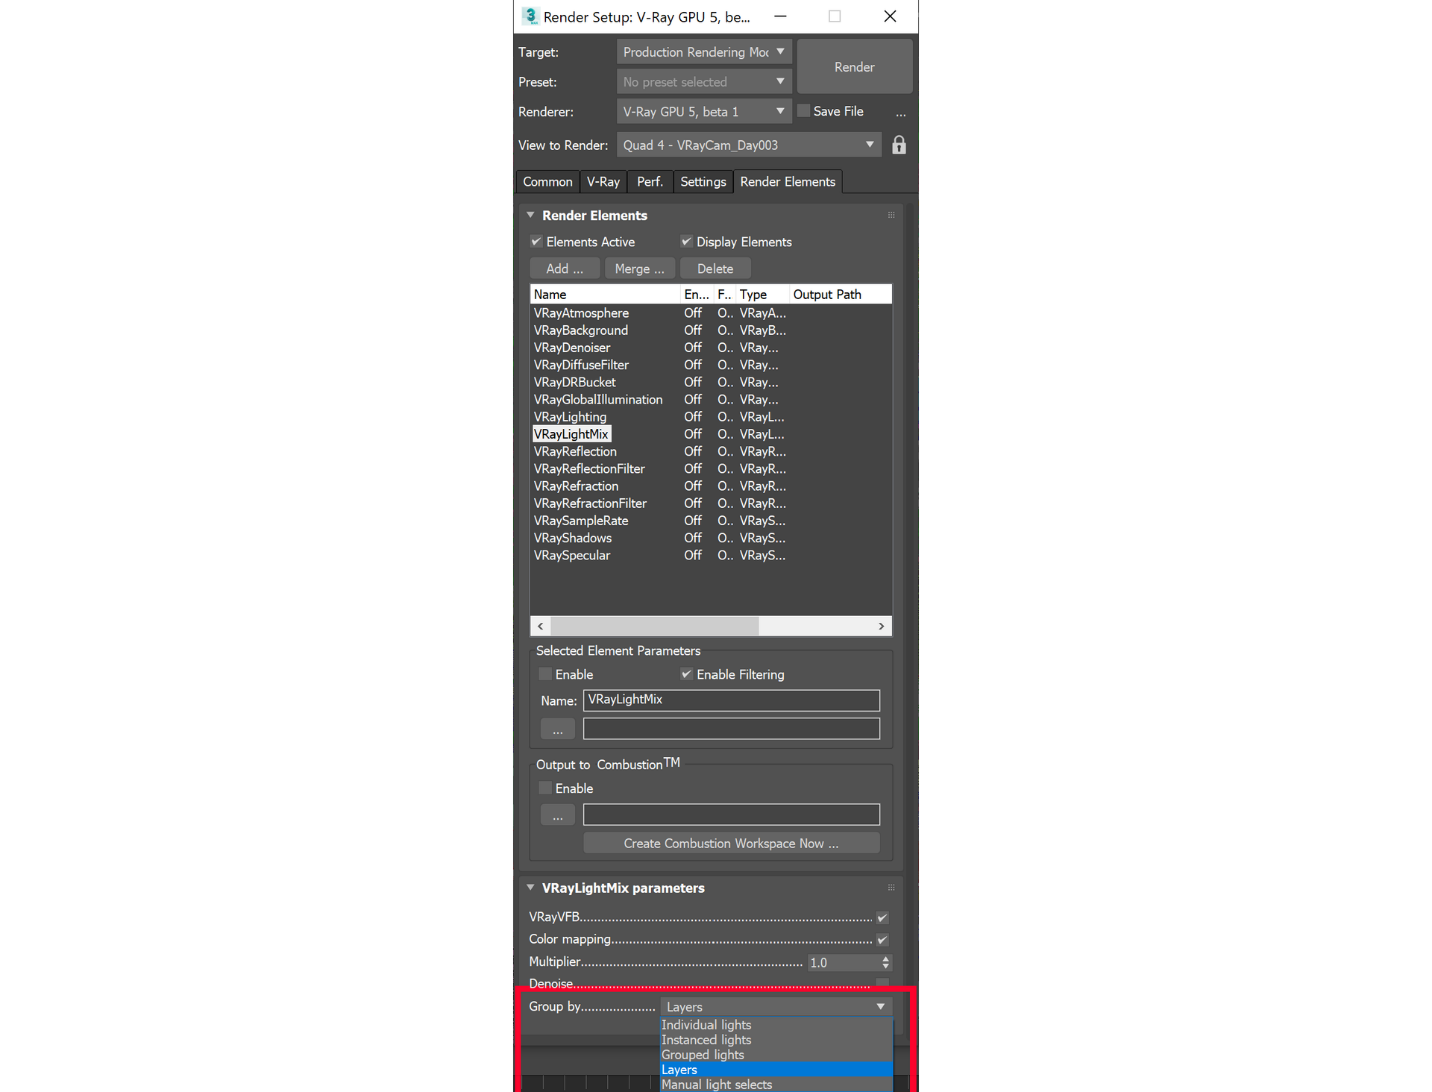
1. First, add the VRayLightMix Render Element. Then select how you would like your lights grouped — individual, instanced, groups or layers.

2. When you hit Render, V-Ray will automatically create the render elements for you — saving you the time of setting them up manually.
3. When the render is finished, you’ll see a list of layers on the right side of the VFB in the compositing section. Select the bottom layer: Source.
4. With the Source layer selected, choose Light Mix from the three modes. You’ll see all lights (or groups of lights) listed with their multiplier, color and on/off switch. Now you can tweak the lights however you want.
5. Once you’re done, you have a few options:
-
- Save the image as is.
- Send your Light Mix “To Composite” to break them into layers for compositing.
- Push the new values “To Scene” and re-render (this is especially helpful if you notice noise or artifacts from pushing the Light Mix too far).


 Tiếng Việt