Here comes the science bit: V-Ray 5, update 2’s hair shader tackles white and lighter pigmentation. Find out how we overcame this surprisingly tricky challenge.

About Alexander Yolov
Alexander is an expert on V-Ray and Maya in Chaos Group, with extensive work experience in the 3D industry as a CG artist. Since joining Chaos in 2012, Alexander has been working exclusively on V-Ray for Maya, assisting the development team, quality testing, writing documentation, and helping users with feature usage and custom setups. Currently, he navigates between customers’ expectations and the engineering team to provide the best future for V-Ray for Maya.
Physiological hair shading
Here at Chaos, we love solving customer problems in computer graphics. We also put a very high priority on providing users with intuitive workflows. Physically correct hair shading has always been a challenge for VFX artists and with V-Ray Hair material, we introduced a solution that came with easy-to-use control based on the physiology of real hair.
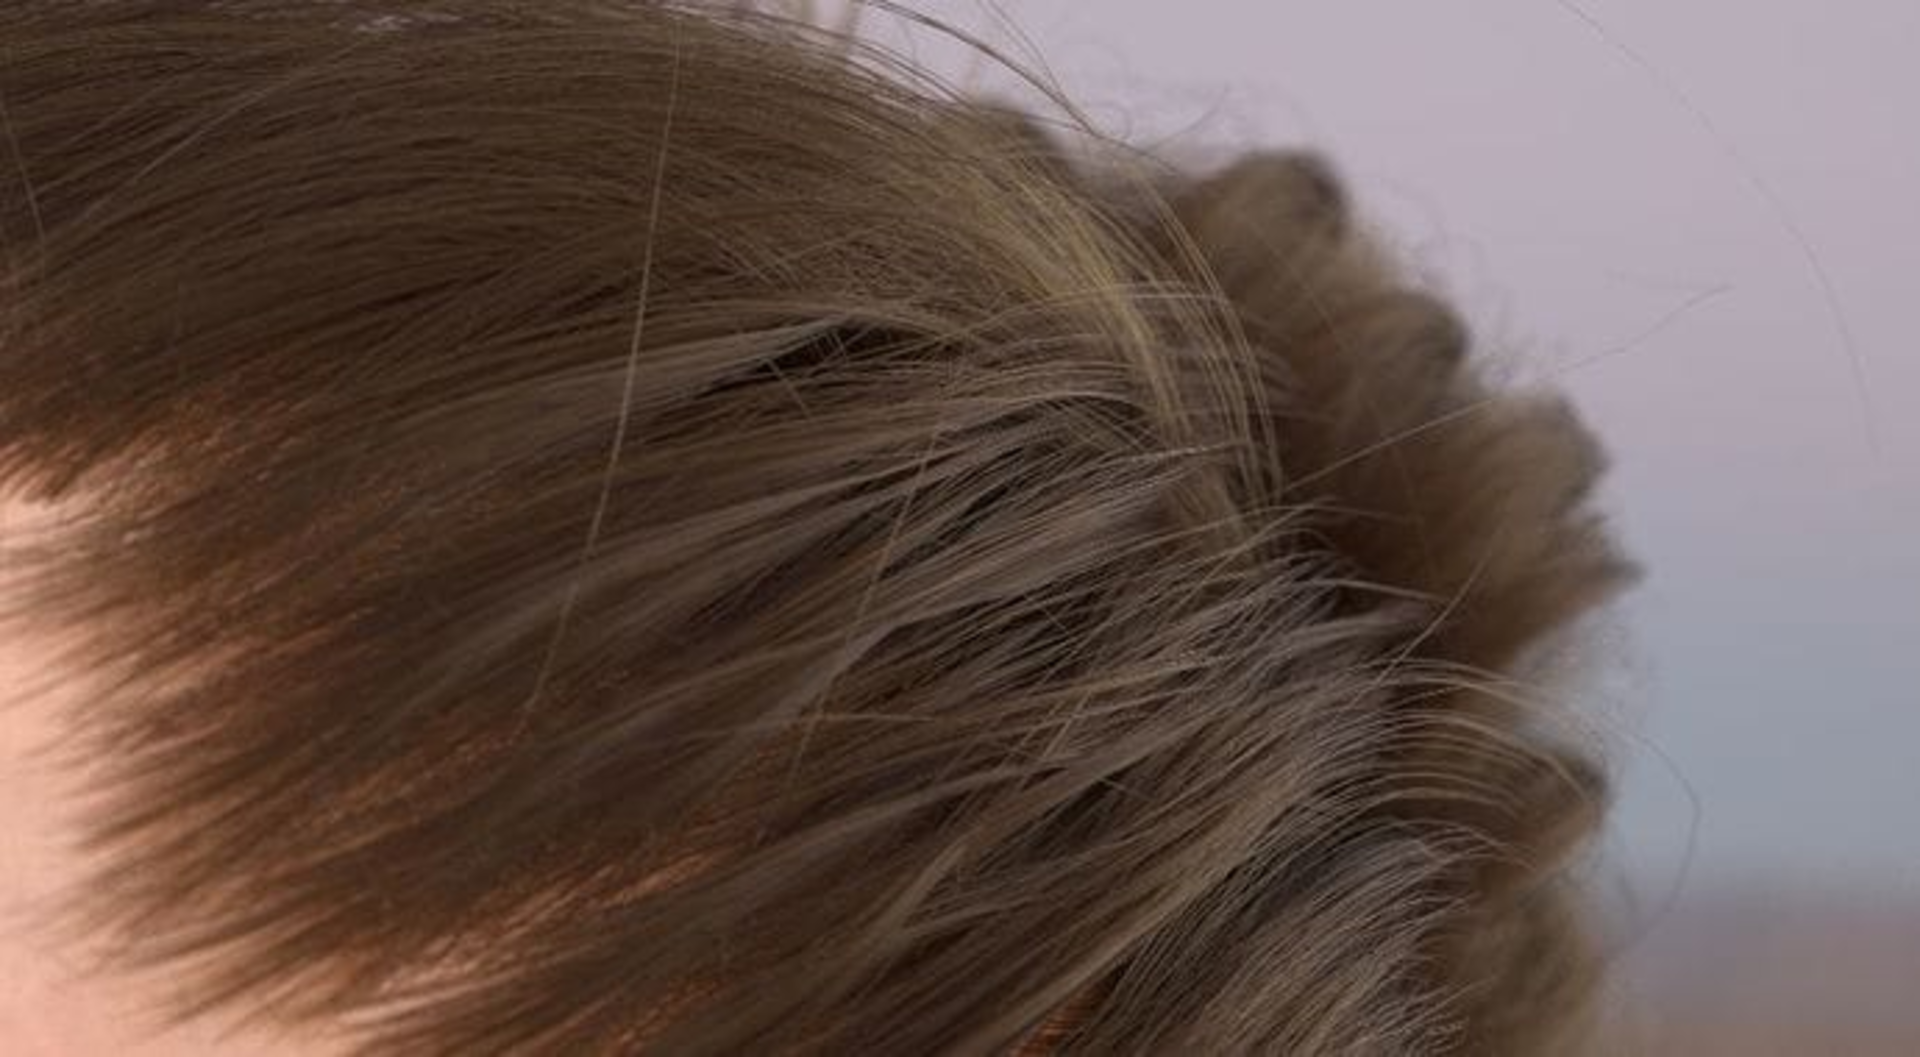
We’ve been making further improvements to the new hair shader, for example when we added glint and glitter in V-Ray Next, update 1. Now, V-Ray 5, update 2 improves the realism of rendering very bright hair colors. This is currently available for V-Ray for Maya and V-Ray for 3ds Max, and it’s coming soon to V-Ray for Houdini and the rest of the V-Ray integrations.
Let’s trace some rays
Before we dive into the topic, let’s look at some general concepts, so we can better understand the problem and the solution.
Ray tracing works by shooting what we call primary rays from the camera into the scene, collecting information about what the rays encounter, and using this to determine the final color value for every pixel in an image. Once a ray hits a surface, it can reflect, refract, or terminate.
Reflection and refraction events are commonly called bounces. On each bounce, shadow rays are cast towards light sources to determine if the surface is directly lit or in the shadow of another object. In a simplified sense:
- If the shadow ray hits a light source, we know that the sampled surface is not in shadow.
- If the shadow ray hits an opaque object, we know that the surface is in shadow.
- If the shadow ray hits a semi-transparent surface, the ray’s contribution to the pixel color needs to be attenuated accordingly.
- We will ignore caustics and other effects for the sake of simplicity.
Why is hair shading difficult?
Shading hair utilizes the same approaches, but shading thick hair with many strands poses some challenges.
When a ray starts bouncing in the hair, the maximum limit of bounces (10 by default) is quickly reached because of the high geometry density. This terminates the ray before it has a chance to hit a light source and contribute to the hair color. The user can still increase the number of bounces, but this can drastically slow down the rendering.
Each bounce casts a shadow ray, but it also has a very slim chance of hitting a light for the same reason: too many hair strands.
The problem is that the more hair strands there are, the less likely it is for a ray to ‘escape’ the hair and reach a light so the correct lighting and shading of the hair can be calculated. In other words, hair doesn’t get to fully utilize the light energy in the scene and we can say that it ‘loses energy’. The final result is that areas with the most hair strands would have been typically rendered darker than expected.
What is special about white hair?
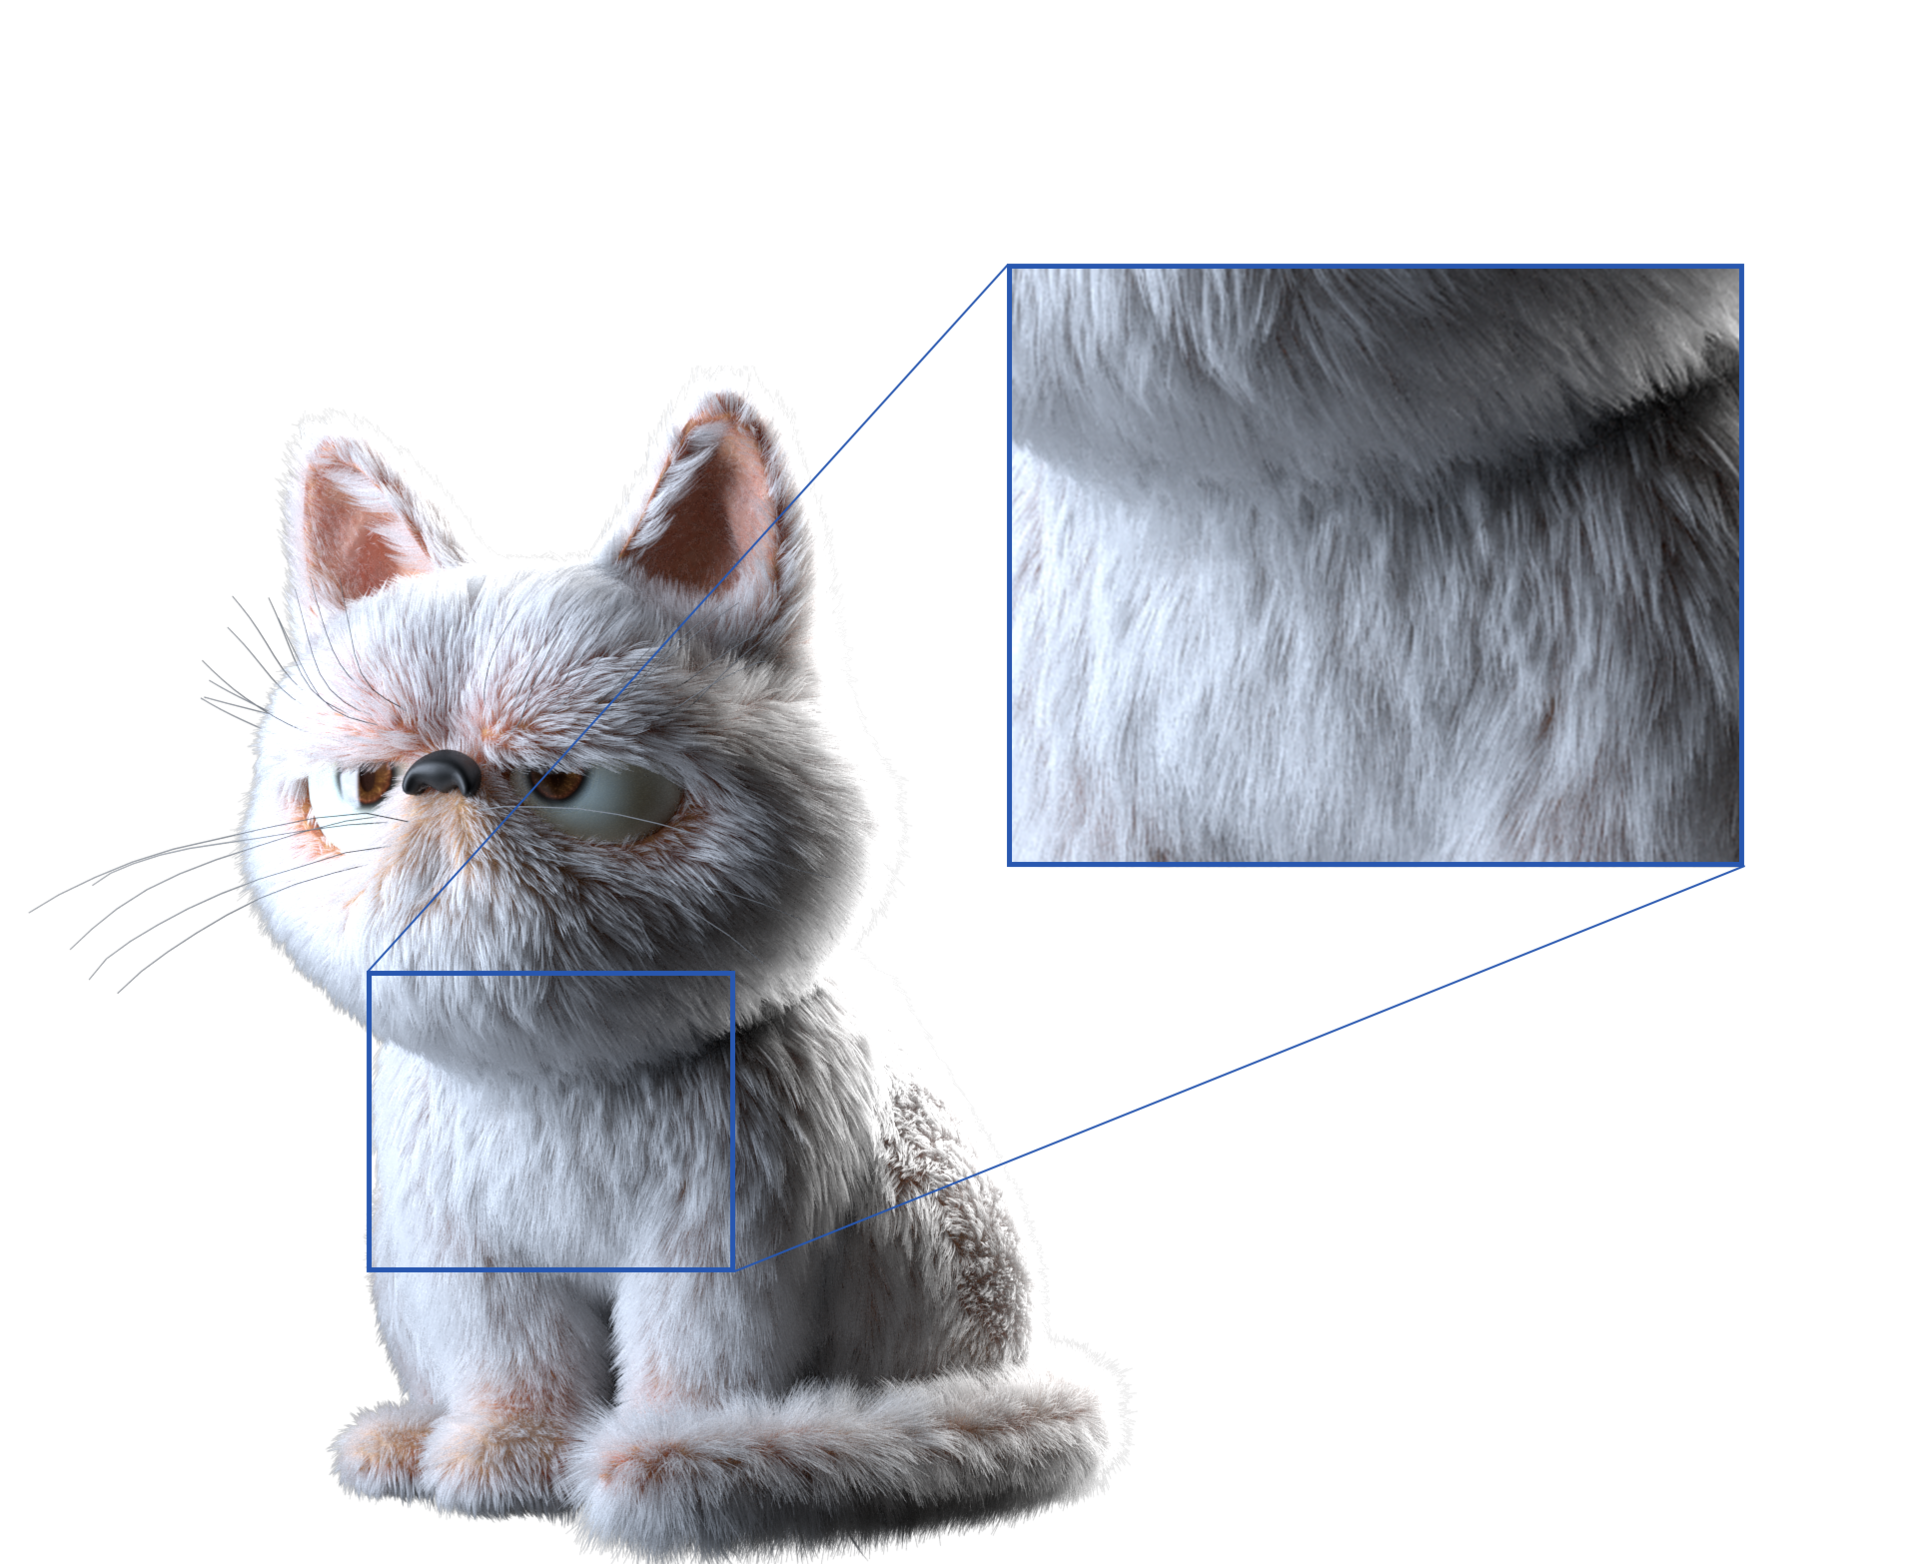
Unrealistic darkening is not easily seen in black, brown, or other dark hair colors. Although it’s still there, it’s just not very apparent, because the hair is already dark. Bright hair colors, on the other hand, are more likely to be rendered darker than they should be, especially with a Melanin setting of 0.2 or less.
The breakthrough
Until now, the typical solution was raising the number of hair bounces from the default 10 to a value of 30 or even 50, which was slow to render and would not always produce a truly realistic result. This means that there was a way to make it better, but it wouldn’t be correct.
Over time, we’ve tried a number of different approaches to untangle this. We didn’t settle until we found a practical solution that compensated for this energy loss but still minimized the performance hit of tracing an insane amount of ray bounces.
We figured that instead of terminating the ray at the last bounce (controlled by the Bounces parameter in the V-Ray hair shader), we could instead make it treat the hair as transparent. This gives the rays a better chance of escaping the hair and finding a light source that can contribute to the hair color. This was later confirmed in our tests and it just worked.
To switch the new behavior on or off, V-Ray 5, Update 2 introduces a new “Compensate energy” option in the V-Ray Hair Material. This setting keeps the number of hair bounces low, while greatly improving the representation of bright hair colors. Here’s a great example:


Before/after the new V-Ray hair shader.
Conclusion
V-Ray 5 for Maya, update 2 brings an update to V-Ray Hair Material that greatly improves realism when shading very bright hair colors, while using a reasonable amount of hair bounces. The new “Compensate Energy” option can be found under the “Advanced” rollout of the shader’s attributes, and it is available in the latest builds of V-Ray 5 for Maya, V-Ray 5 for 3ds Max, and V-Ray 5 for Houdini.
We recommend enabling the option when the Melanin setting is 0.2 or less or when other parameters were used to make the hair color very bright.
Source: Chaos Blog


 Tiếng Việt


