Revolutionize your structural engineering workflow and cut hours off your modeling process timeline with these tips and tools from Zachary Engineering with SketchUp.

Rendering of a three-story house designed by architect Nick Sonder.
Zachary Engineering (ZE), a premier structural engineering firm renowned for its expertise in complex, high-end residential projects across the West Coast and Hawai’i, made a groundbreaking shift in 2009. The ZE team revolutionized their workflow by transitioning from traditional two-dimensional AutoCAD files to the dynamic, immersive world of three-dimensional modeling with SketchUp. This bold move catapulted their project efficiency and transformed their approach to proactive problem-solving.
“Drafting can be tedious, but having a tool and process to do it efficiently saves a ton of time. Because, one, it’s accurate, and two, that’s where your biggest time-saving margins can be made.”
Jesse Brown, Project Engineer
For Zachary Engineering, that’s precisely why they’ve invested the time into creating a process they’ve nearly perfected and are eager to share with engineering and architectural teams everywhere. Jesse Brown, Project Engineer, sat down with us to share a high-level overview of their workflow.
“We put out 40-50 projects per year, all with SketchUp — start to finish, plan sets, details, the whole nine yards. The idea is to save contractors a bunch of time, save clients a lot of money, and put great projects out there.”
Jesse Brown, Project Engineer
Structural engineering workflow in SketchUp
Here’s a deep dive into ZE’s detailed SketchUp workflow for all of their engineering projects:
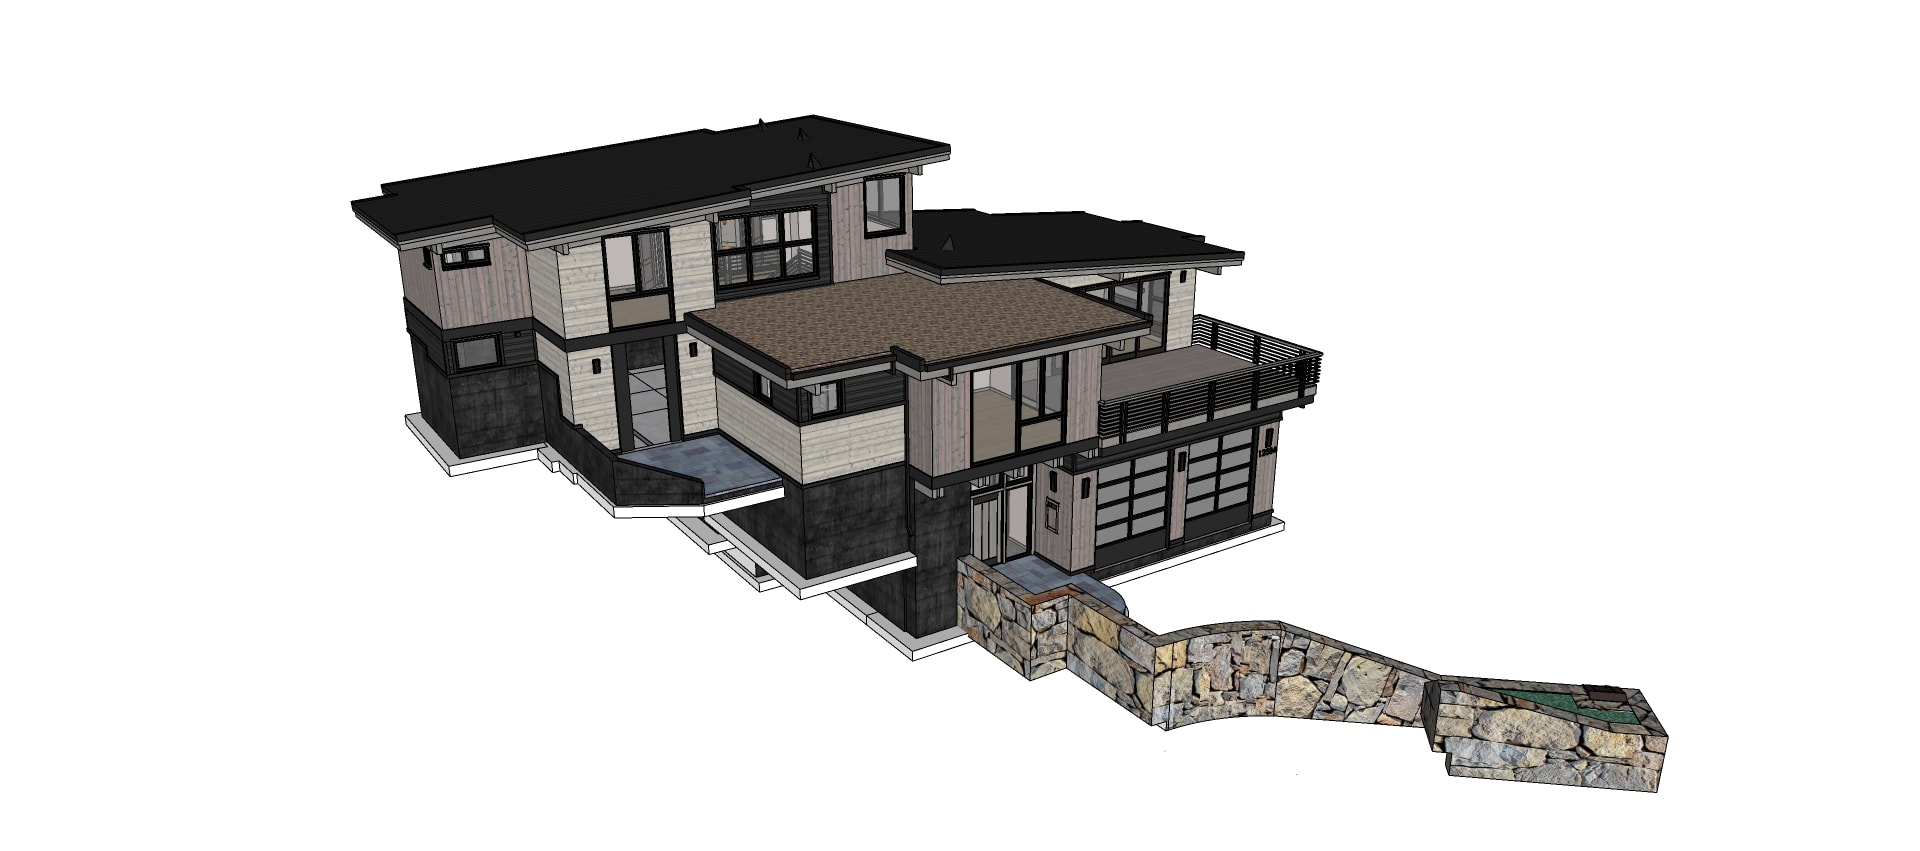
Architectural rending provided to ZE to begin their engineering workflow.
1. Project kick-off: receiving an architectural model
The engineering process starts when ZE receives a completed model from the architect partner on a project. Some of the architectural firms they work with use other design software that requires import into SketchUp first. However, one of their primary project partners is architect Nick Sonder, who works exclusively in SketchUp.
“When working SketchUp (architectural design) to SketchUp (structural modeling), we’re saving 20-40% drafting time compared to using an imported Revit or AutoCAD model.”
Jesse Brown, Project Engineer
2. Prepping the Model for Working in LayOut
Zachary Engineering has developed a workflow in LayOut consisting of stacked vector viewports over a single raster viewport. This allows columns to be seen above and below beams, beams to be seen above framing, etc., enabling ZE to highlight specific parts of the structure. Using this stacked viewport system, each viewport for each level of the structure is populated with the respective layers (tags) needed to show correctly on the plan set.
The first task to be completed after receiving the architectural model is to run the proprietary script that sets up all the layers and scenes to correspond to the LayOut plan templates they have created. Since it is a very tedious task to manually set this up for every model, ZE developed a Ruby script that does all the work for them.
This setup script has evolved and grown much more powerful over the last decade since it was first written. Jesse estimates it took between 12-16 hours to perfect the initial script, which now saves an estimated 8-10 hours of drafting and setup per project—upwards of 10 weeks of working time per year.
“When working in a team setting, where anyone in our firm may need to jump into a project at any time, consistency and continuity between projects are key. With this in mind, I wrote a Ruby extension that automatically generates all required tags for a project, groups them by level, and generates all the scenes (with proper tag visibility) for export to its respective plan template.”
Jesse Brown, Project Engineer
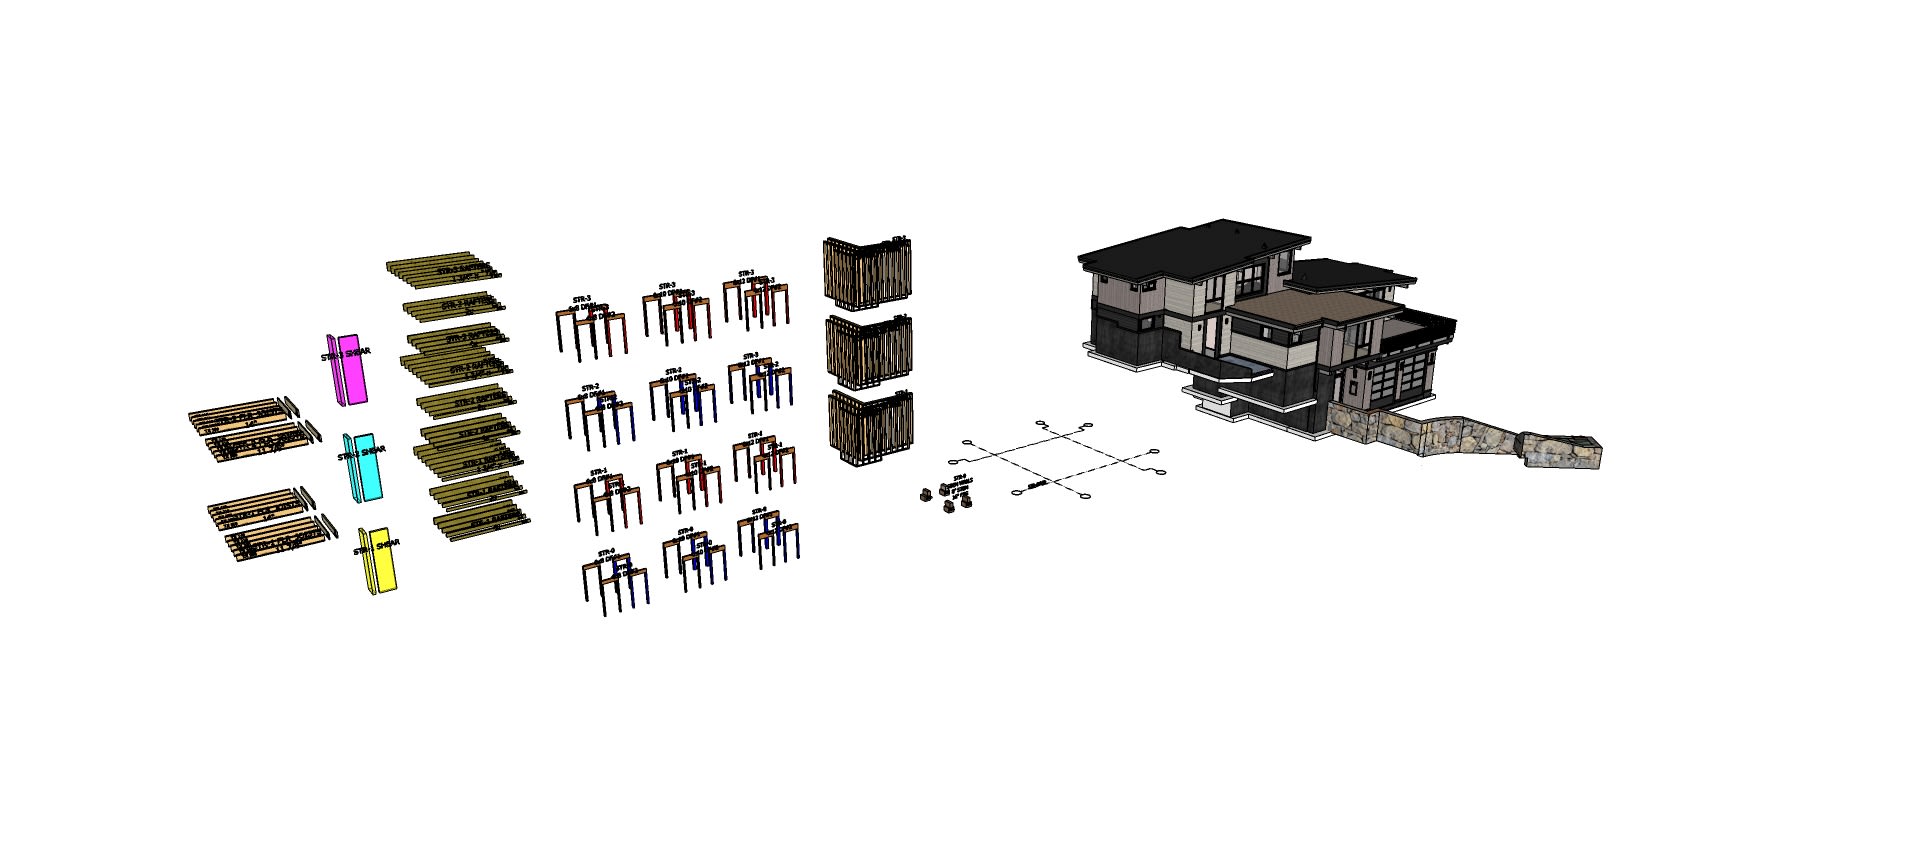
Engineering components dropped in next to the architectural model, ready to begin modeling.
3. Drop in Component Library assets to begin modeling
Next, the ZE team can grab the modeling components from the local Component Library corresponding to the script. These components are already on their respective layers, meaning drafting the structural model can begin immediately.
For the project pictured above, ZE can go to their component library and grab the package for a three-story framed floor building and quickly pull in all the components they need to begin modeling the structure underneath the architectural model.
“The way I like to describe it is that the architects send us the pretty picture, and I figure out how we make that pretty picture stand up. They make something functional and make the spaces work, and I take the structural elements and figure out how to “hide them” within the architectural design.”
Jesse Brown, Project Engineer
Jesse shared that working with architects already using SketchUp is significantly faster and more efficient than working with those using Revit, CAD, or other design software.
For example, Jesse shared a project currently in review of steel shop drawings. Using SketchUp, the ZE team could complete the full set of steel shop drawings before the full plans were even submitted for permitting, ultimately saving the contractor months.
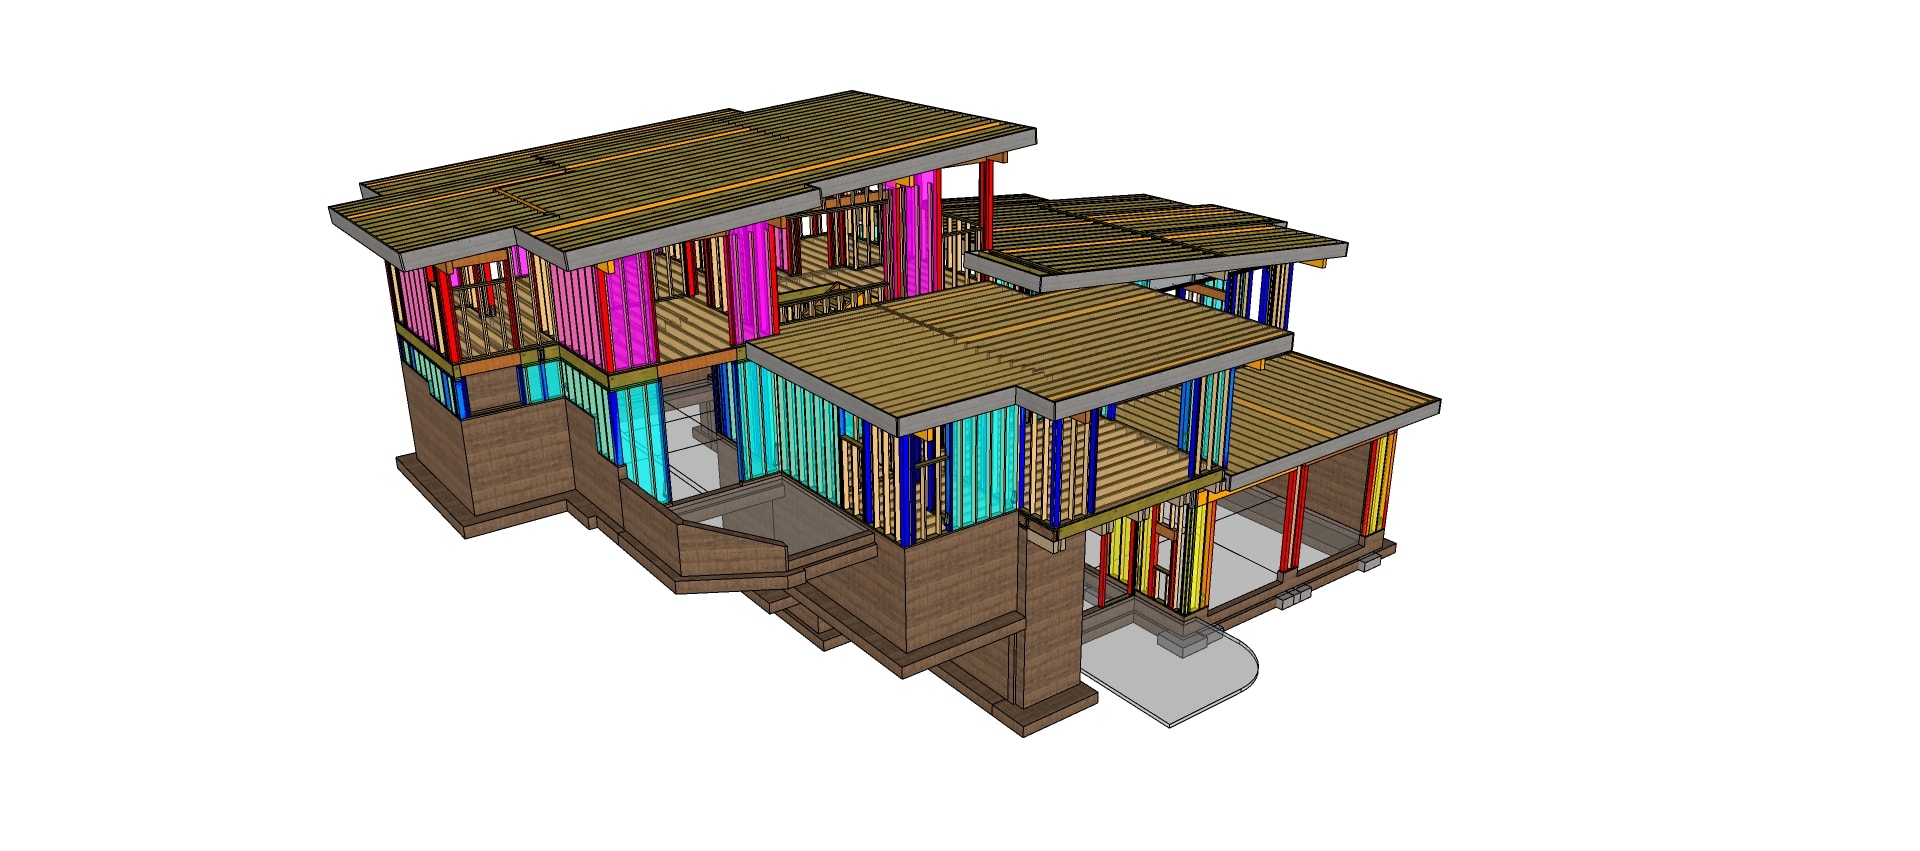
SketchUp screenshot showing the architectural model with all the structural components in place.
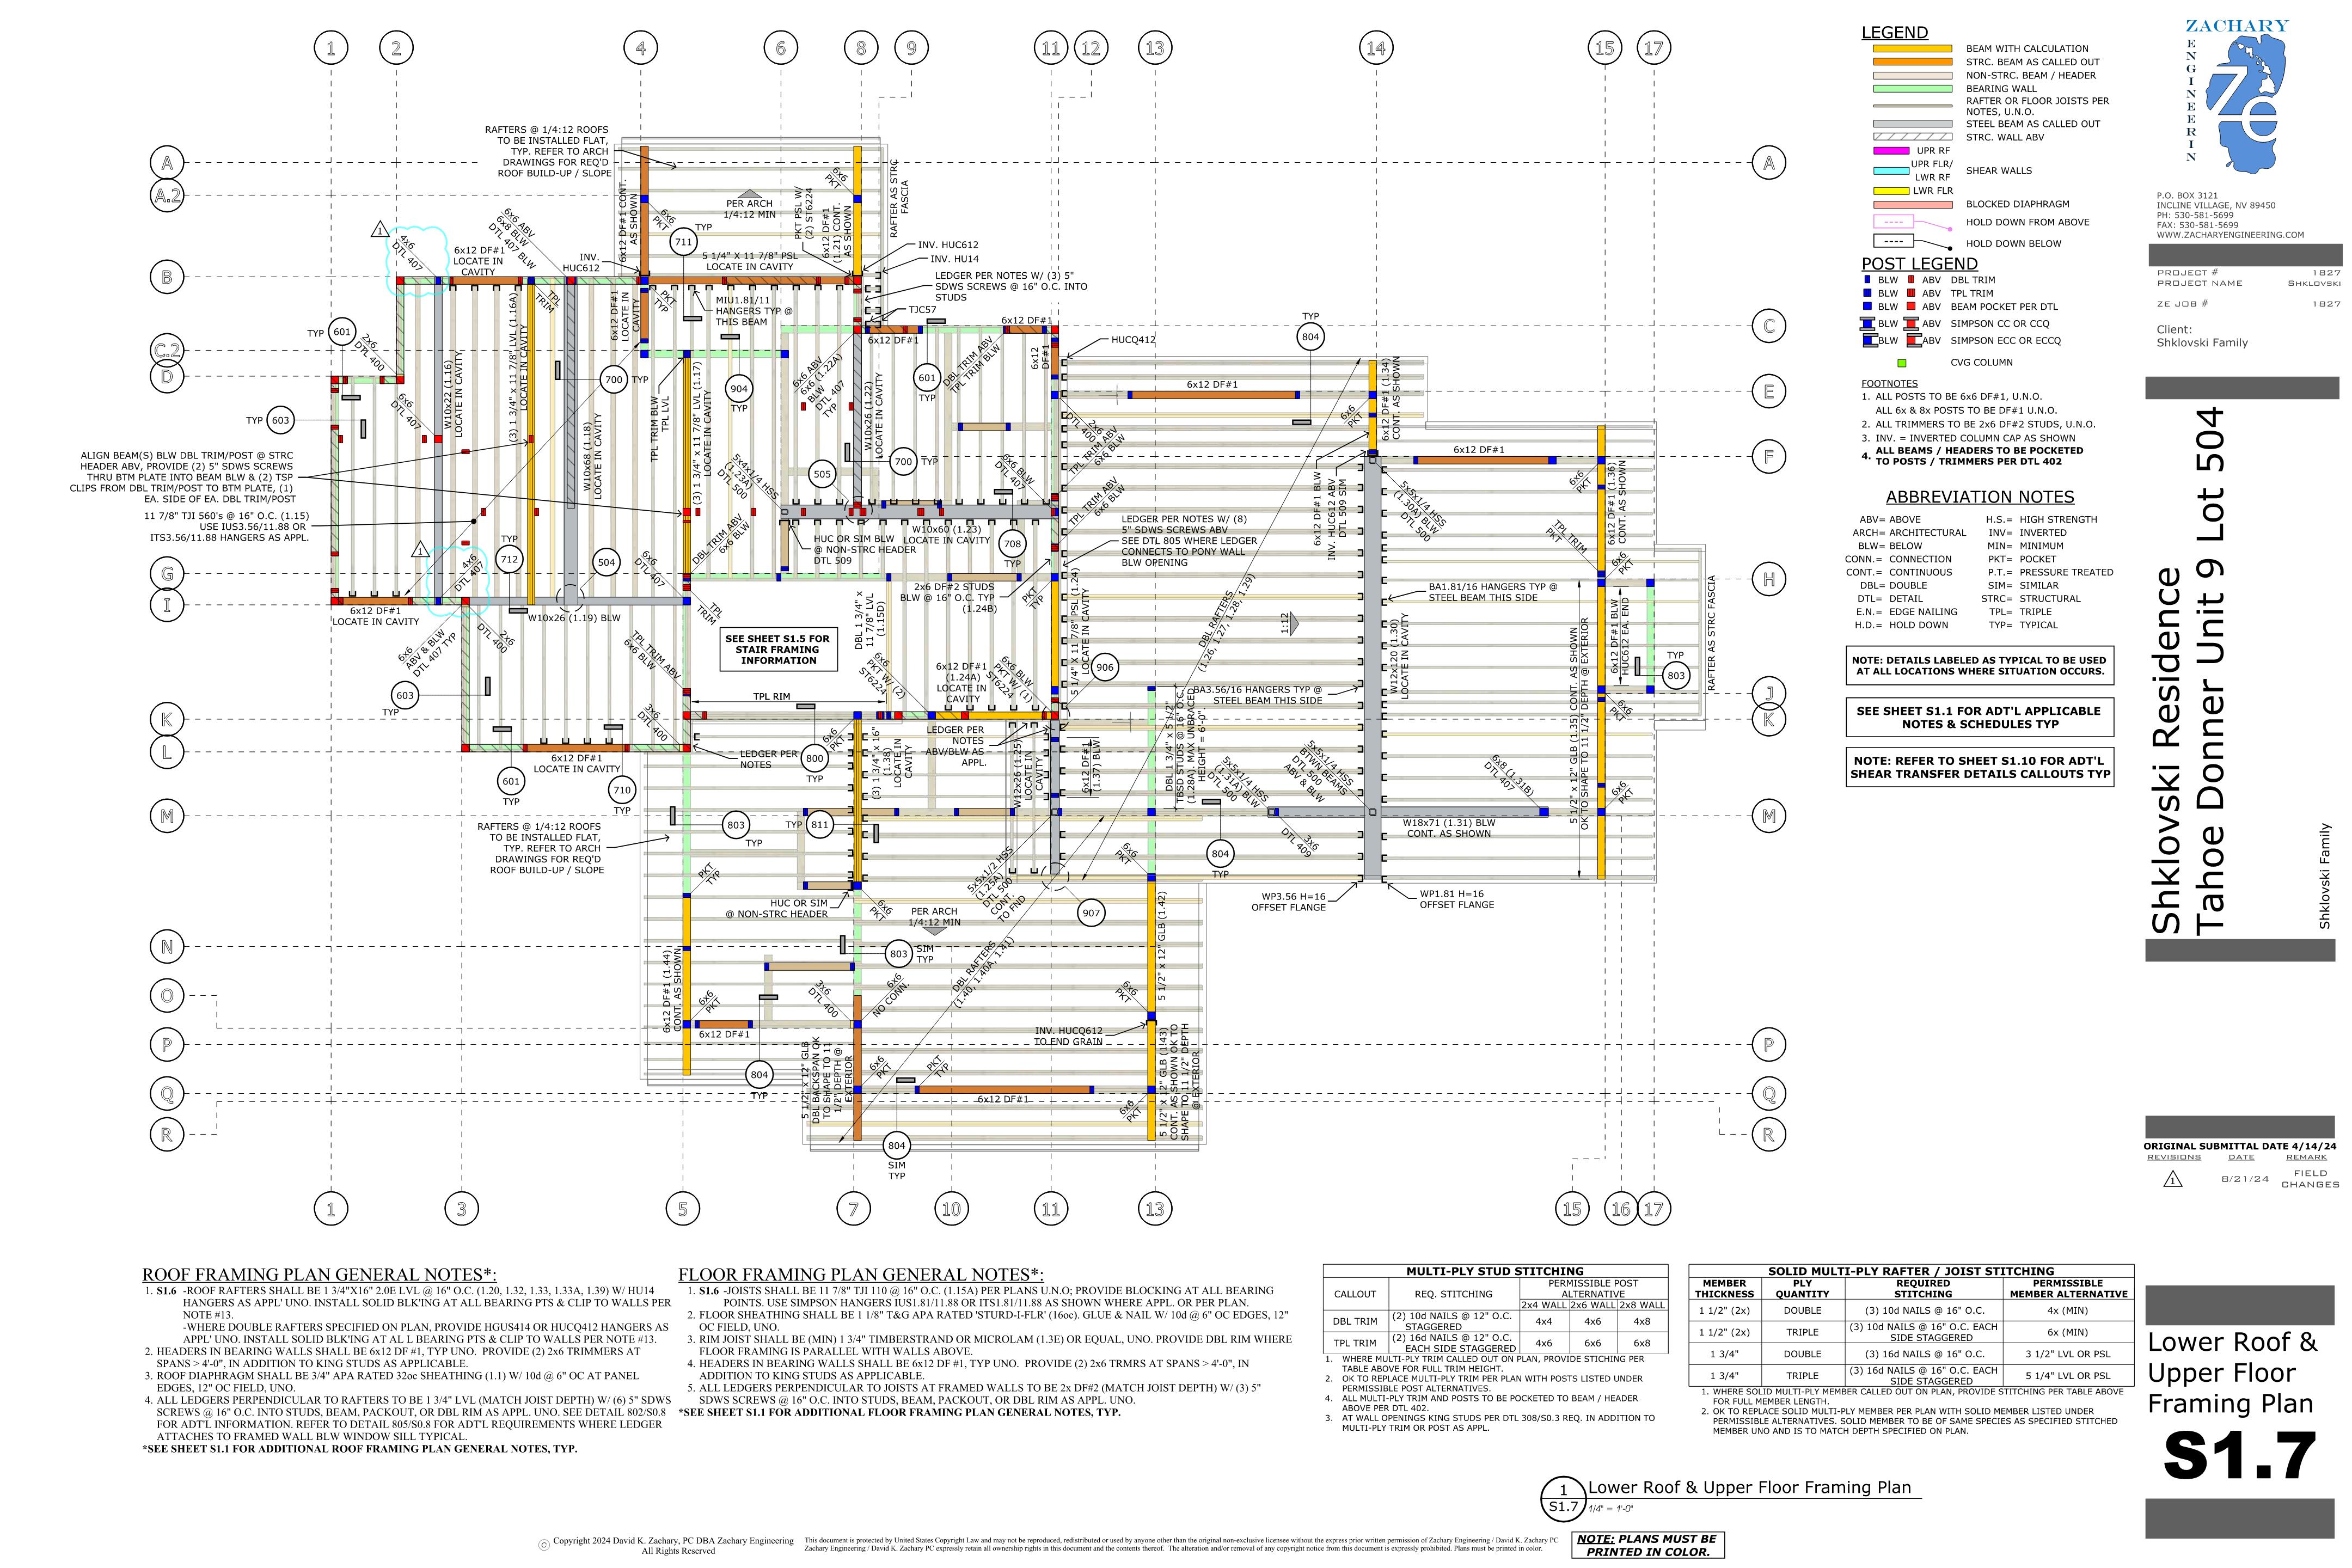
Lower roof and upper floor framing plan from Zachary Engineering.
4. From model to plan
Using SketchUp’s internal tools for measurements, geometry, and visualization of member interactions and load tracking, ZE works through the different stages of the structural design using various structural design software.
Along the way, the team revises Entity Info in the SketchUp model, which is grabbed in LayOut with the Label tool. This allows for quick plan labeling and does not require someone with extensive engineering experience to create the final plan set. Additionally, having member information in only one location (the model) reduces the chance of user error when manually entering member information. Jesse estimates this labeling process saves at least an hour per project over manually typing the information, which is almost a whole workweek over the course of a year.
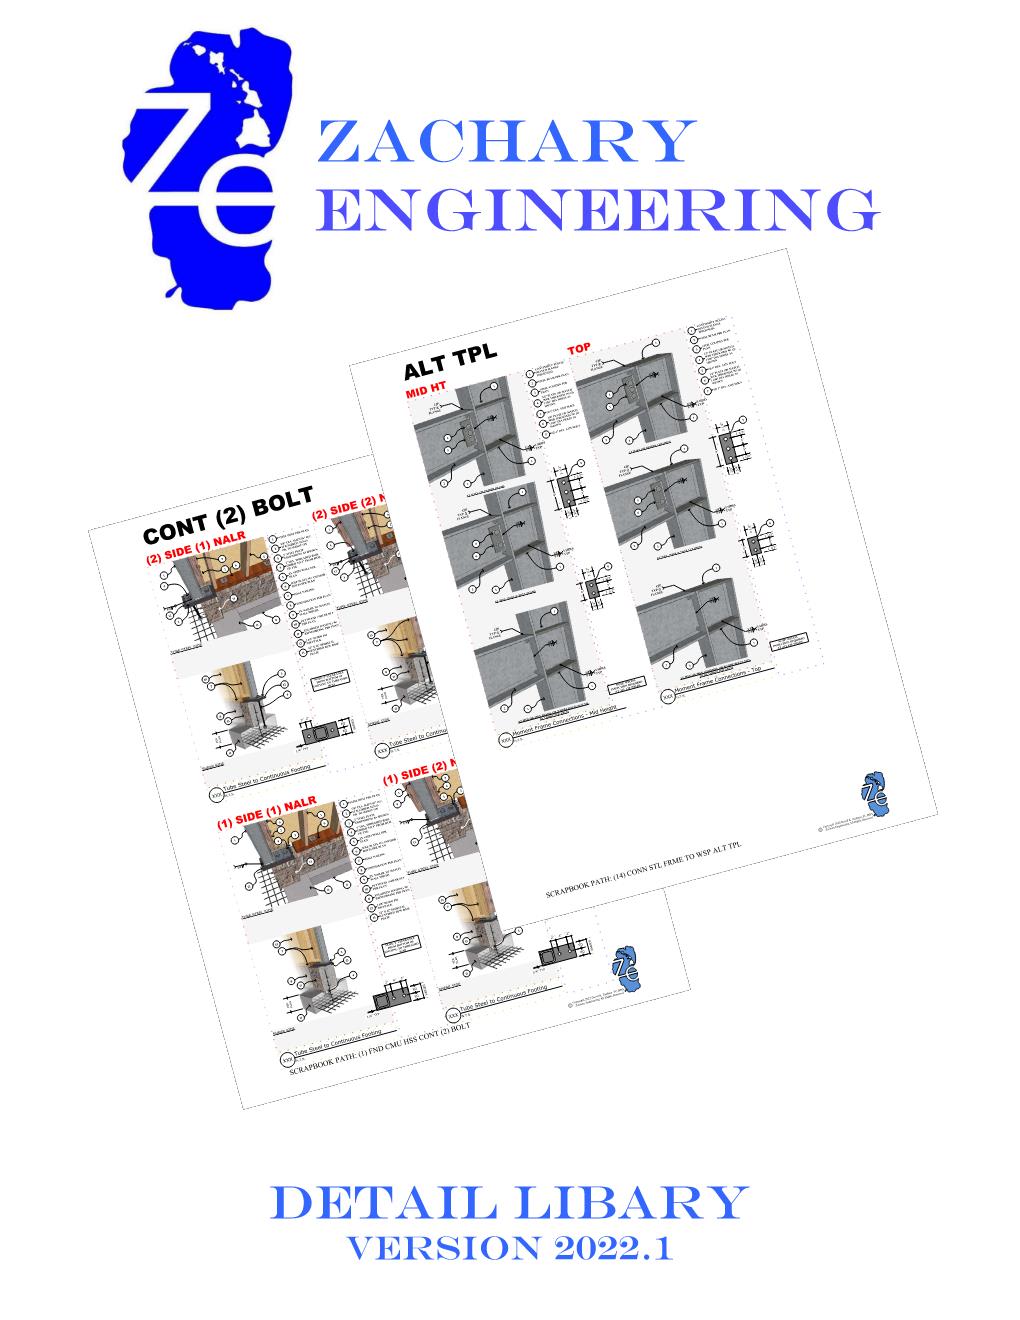
The ZE Detail Library features over 6,000 premade standard details, ready for utilization by any SketchUp user.
5. Adding in the details
Using SketchUp saves the most time when it comes to detailing. The complex residential structures the ZE team works on will require anywhere from 20-400 intricate details that must be specified on the plan set. While some details are custom and must be created based on the exact project requirements, others are more standard and rarely change. The team at Zachary Engineering has developed a sortable and searchable detail library with over 6,000 standard details ready to use — and they’re making it available for purchase to any SketchUp user who may benefit from it. If a skilled SketchUp user takes approximately ten minutes per detail to create from scratch, the time and cost savings of using a pre-designed detail library are astronomical.
“With our fundamentals — the videos, component library, and instructions — a new user could be up and running within 2-3 weeks. SketchUp is very intuitive and user-friendly compared to other software on the market.”
Jesse Brown, Project Engineer
Transform the way you work
Now is the time to take your structural engineering workflow to the next level. Zachary Engineering shows that SketchUp can be used beyond architectural design. No matter the size or complexity of your project, the amount of time and effort invested into a model comes down to how well you can use your tools. ZE is here to show the engineering community how easy the transition to SketchUp can be by using the tools and processes they’ve been fine-tuning for years.
Ready to try these tools out for yourself? Start a free trial or find the right subscription for you today.
Learn more about Zachary Engineering’s detail library, which they have available for purchase, and their game-changing SketchUp workflow at one of their 3D Basecamp presentations. Details of their three sessions can be found in the content catalog here.
Source: SketchUp Blog


 Tiếng Việt