Overview
Chaos Cloud requires the installation of Chaos Cloud client application. The app is the connection between your scene and Chaos Cloud, and it allows you to submit scenes to the cloud. The diagram on the right explains the workflow of exporting a scene to Chaos Cloud.
After the installation of Chaos Cloud client application, you can export *.vrscene files manually or through any of the host apps. If it is started from a 3D design application, it will automatically load the scene you are working on. For a full list of the apps that support Chaos Cloud and how to run a render job on Chaos Cloud from the corresponding host app, see Submit and Download. If you want to start the *.vrscene file manually, you have to find that exported file and submit it by right-clicking on it and choosing Upload to Chaos Cloud. For more information, see Submitting Render Jobs Through the Chaos Cloud Standalone Application. .
The client app allows you to manаgе the upload before submitting it to the cloud. You can change the job name, choose the project, the aspect ratio, etc. Once in the cloud, you are able to monitor the progress of your currently submitted jobs, queue up subsequent jobs, as well as change job settings and resubmit jobs without even opening a scene.
Chaos Cloud client app can be installed with any V-Ray installer. This is the preferred way of installing it.
This guide is to serve as a reference for the installation of the app if you decide to install it on its own.

Installation Process
.
In order to use Chaos Cloud, you need to install the Chaos Cloud client application. To do so, log into Chaos Cloud with your Chaos account and navigate to the client app download button at the bottom left corner of the page. Để sử dụng Chaos Cloud, bạn cần cài đặt ứng dụng Chaos Cloud Client. Để làm như vậy, hãy đăng nhập vào Chaos Cloud bằng tài khoản Chaos của bạn và điều hướng đến nút tải xuống ứng dụng khách ở góc dưới cùng bên trái của trang.

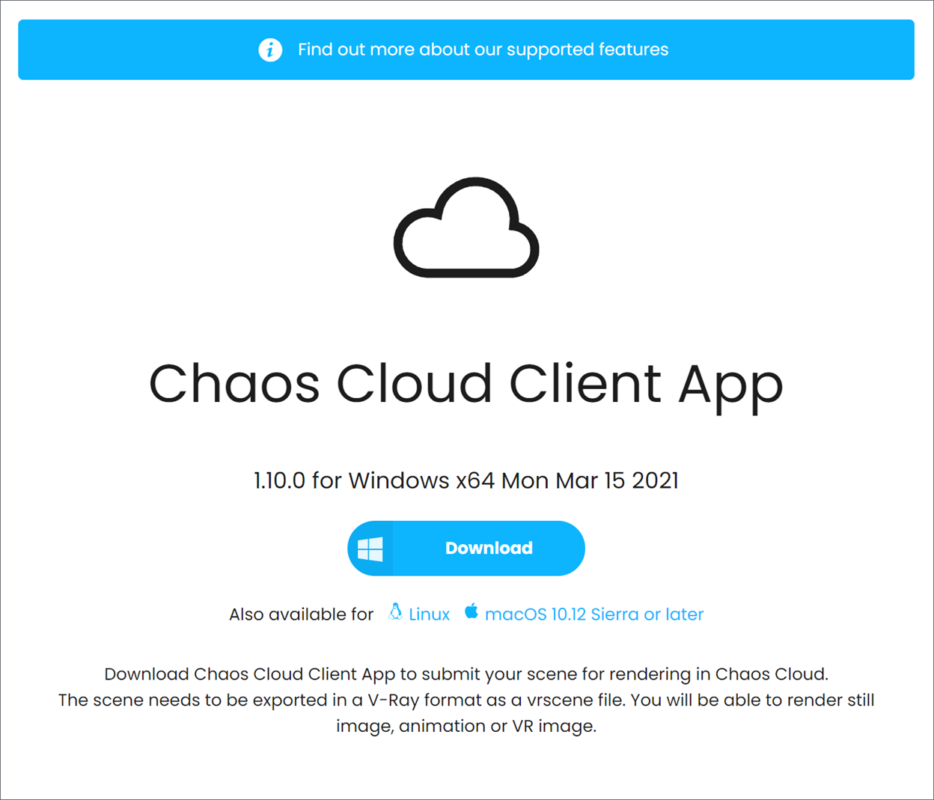
You will be presented with the following screen, prompting you to download the client for the OS of your choice.Bạn sẽ thấy màn hình sau đây, nhắc bạn tải xuống ứng dụng khách cho hệ điều hành bạn chọn.
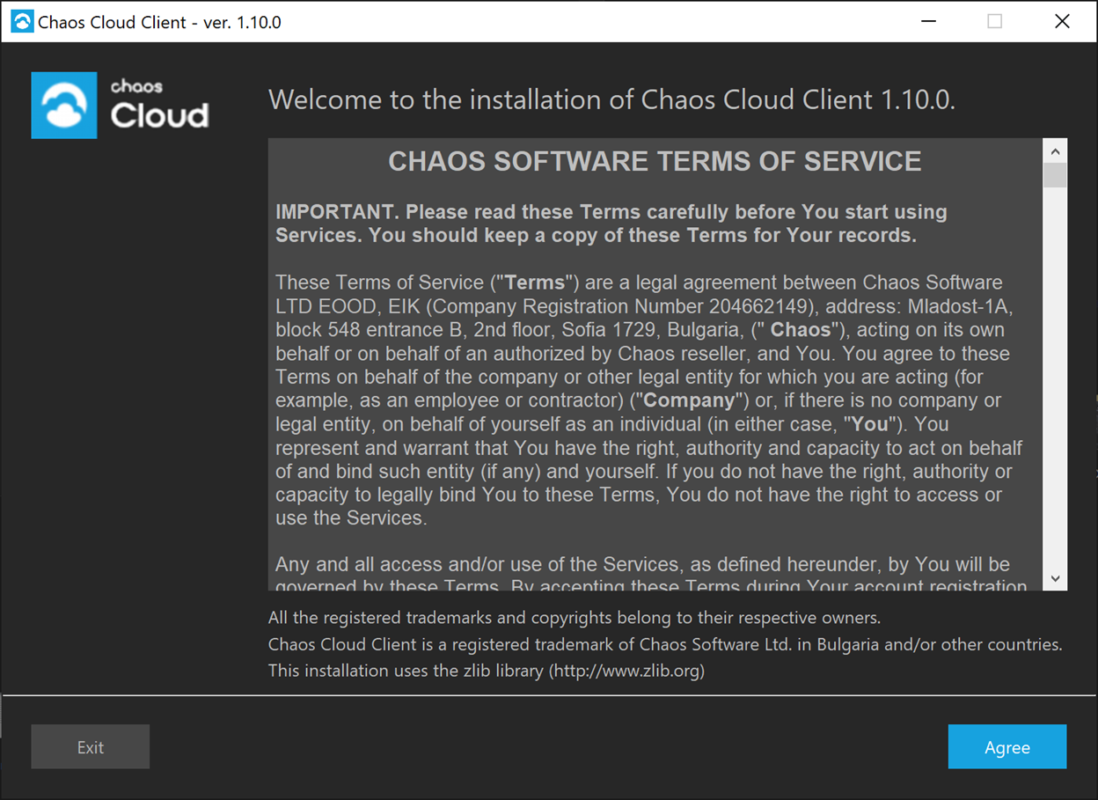
Run the installer and read over the license agreement. Once ready, press the I Agree button.Chạy trình cài đặt và đọc qua thỏa thuận cấp phép. Sau khi đã sẵn sàng, hãy nhấn nút I Agree.
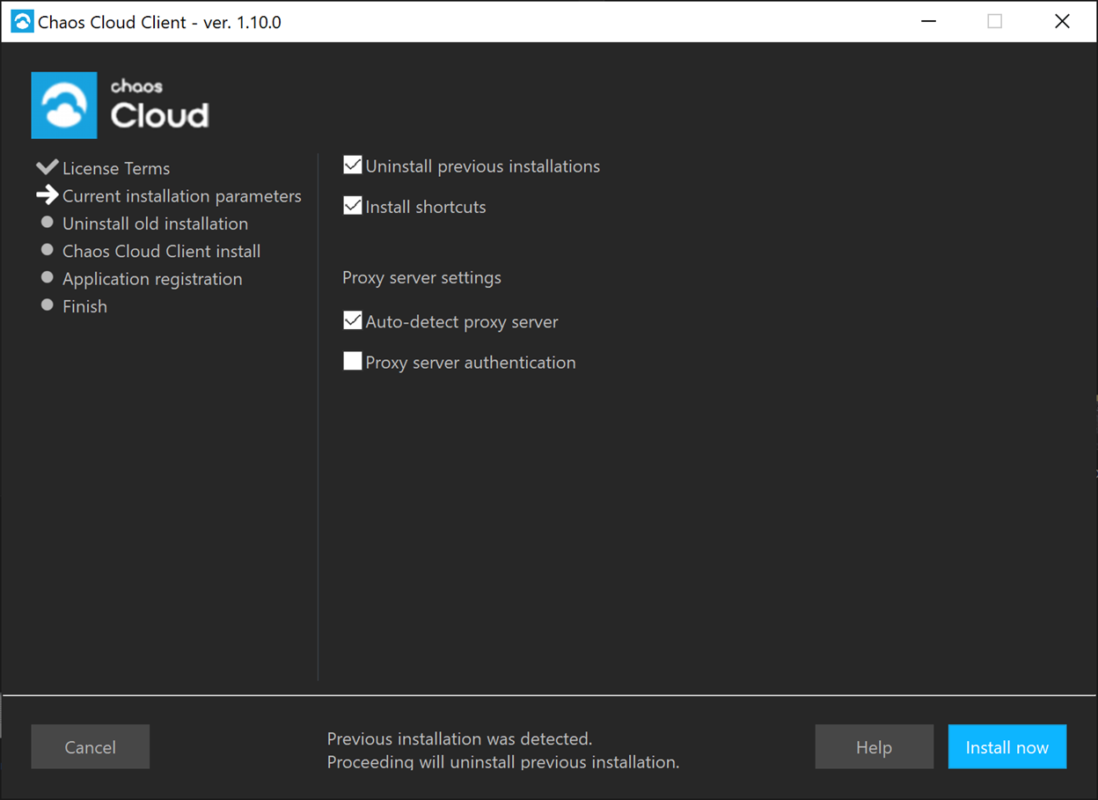
Choose your preferred installation and proxy server settings, and then press Install Now. The Chaos Cloud Client installer will automatically uninstall previous versions of the client.Chọn cài đặt cài đặt và cài đặt máy chủ proxy ưa thích của bạn, sau đó nhấn Install Now. Trình cài đặt Chaos Cloud Client sẽ tự động gỡ cài đặt các phiên bản trước của ứng dụng.
Windows Default Install directory – %appdata%\Chaos Group\Cloud\Client\ccloud.exe
macOS Default Install directory – /Applications/ChaosGroup/Cloud\Client/ccloud
Linux Default Install Directory – $HOME/.ChaosGroup/vcloud/client/ccloud.bin
Wait for the installer to finish, and then press the Finish button.
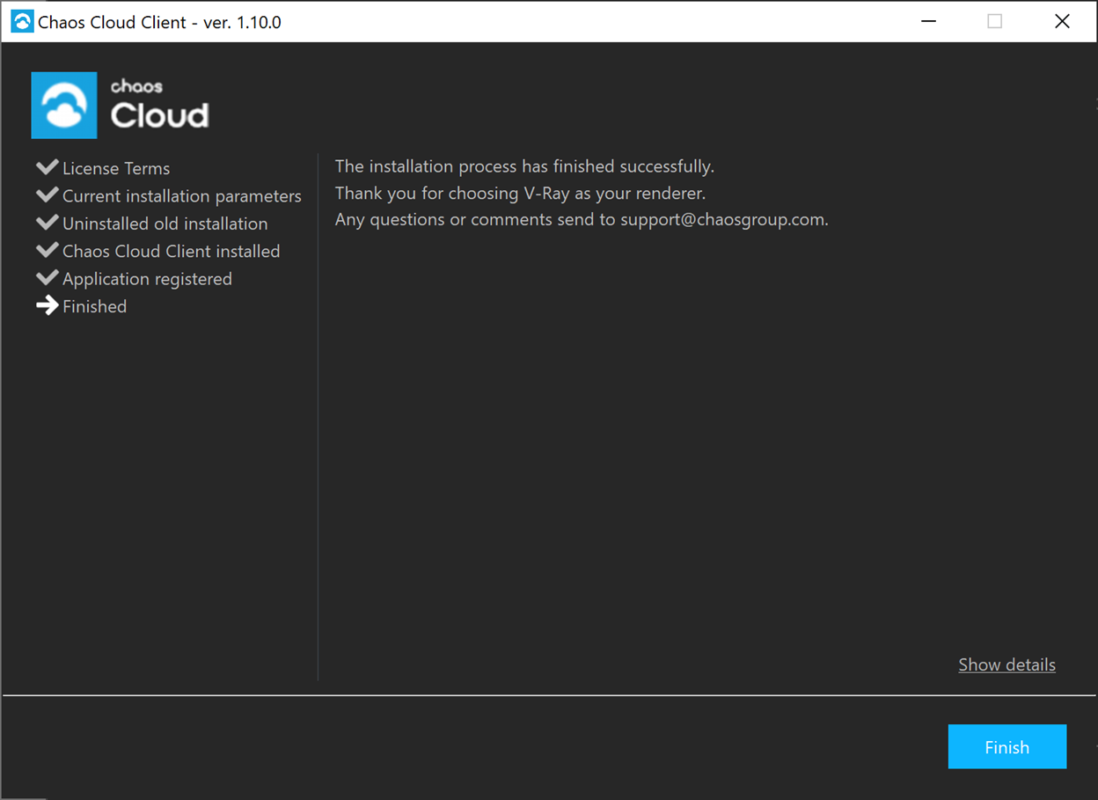
You are now ready to submit a render job on Chaos Cloud.
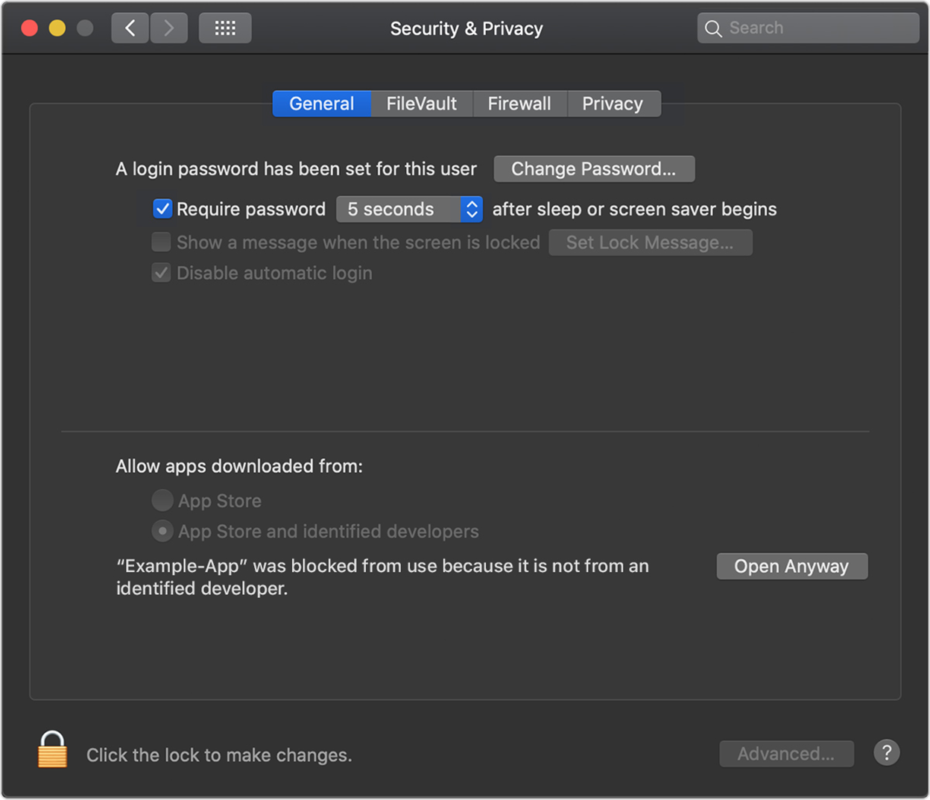
The warning prompt reappears, and you can click Open.*

The app is now saved as an exception to your security settings, and you can open it in the future by double-clicking it, just as you can any authorized app.
Source: Chaos


 Tiếng Việt